Thursday, 24 November 2016

I spied-a-bag

When I decided to wear my Misery costume to GAMMA.CON this year I also decided that I needed a bag to go with it. I went through an episode of Ruby Gloom (The Last Train to Gloomsville – because they go on holidays and therefore must have bags) and found some options.
I decided on the small maroon bag in the centre which has Misery's spider seal on it. She can be seen carrying it in other episodes.
To get the required size of the bag I put my drink bottle, phone and purse (the intended contents) on a piece of paper and drew a rectangle around them. The skeleton of the bag is buckram with gardening wire around the top and base.
I was making up my method of construction as I went, never quite sure that what I was planning next would work. But it all worked out in the end.

The outer layer is a sample of curtain fabric that's been in the stash for years which I edged with rickrack braid.
The top is all rectangles with wire around the centre edges. (Sorry if that doesn't make sense – I could barely keep the concept in my head when I was doing it). I put a zip in one side to create a pocket to keep small things I wanted to access easily (Lip balm... it's for lip balm. Lip balm is so important to me that it gets specially designed pockets).
I sewed the top and bottom right sides together. The wire made it very difficult to turn it out but I'm not sure how else I could do it. And ta-da:
The spider motif is hand painted onto green fabric that is wrapped over a buckram disc. I had to use purple paint instead of black because purple was the closest thing I had on hand and it was night-time so the shops were shut. The back closes with snaps. The handles stay upright and right angled because the fabric is reasonably stiff and I ironed them that way.

Wednesday, 26 October 2016

GAMMA.CON

Last month I attended GAMMA.CON which is a small pop-culture convention in Canberra.

Originally I had planned to go with a group of friends but when the time came most of them couldn't make it. I had never been to a con before so I was a bit apprehensive about attending alone – but then I was asked to be part of an exhibition of student costumes as part of the Cardif Collective stall.
I contributed five outfits: Viking, Esther, Ice Goth, Tia Dalma and 1901 Reception Dress. The TARDIS dress was made by another student.
I wore Misery (from Ruby Gloom) on the Saturday. Despite making it four years ago I had never worn it before except to take pictures. I had a hair tie safety-pinned to the end of the train so I could attach it to my wrist and draped the veil over my arm. This protected them from being stepped on but I will think twice before hanging three metres of fabric from my head again (actually I won't – but I ought to think twice). Even though I was carrying most of the veil on my arm, my neck was feeling it by the end of the day.

Because I was wearing and taking costumes I already had, the only thing I needed to make in preparation was a bag. I'm glad I wasn't working on anything more significant because even though I started work a week out, I was still up past midnight the night before to finish it.
On the Sunday I wore my Eowyn costume to compete in the costume competition. I had a good time with the competition which is kind of odd given that it was mostly waiting around, either to be judged or to go onstage, but it's definitely something I want to do again. I didn't get a prize but had a very positive reaction from the audience.
Other than that I didn't find the experience of being 'in costume' particularly noticeable. This might be partly because I was mostly by myself which allowed ample opportunity to forget about what I was wearing. But I also think it is because my focus is so much more on making rather than wearing. I had a friend come to watch the competition and going around the floor with them afterwards was a lot more fun for me than the day before had been. I definitely want to go again – but next time I will drag a few more people along.

Monday, 3 October 2016

Peacock coloured maxi-dress

When this beautiful bordered lycra arrived at Needlewitch I had to have it. It was more expensive than I usually like to pay for fabric. However, I first saw it at a time when I was going through a spate of Vogue 8323 tops which didn't use a lot of fabric so I bought 1.2 metres of it. But before I got to it, I started being dissatisfied with those particular shirts. I'd made enough that the flaws I hadn't been able to solve kept standing out and disappointing me. I didn't want to use my lovely fabric on a shirt I would be unhappy with.
Then I made this maxi-dress which I loved. (More about the pattern is in the linked post). This seemed like the perfect way to use the lycra. The big expanses of fabric would show off the print nicely. I got out my shirt-sized piece of fabric and found that, pleasingly, the width was sufficient that it could fit the pattern sideways. This meant that I didn't need as much fabric as I had used for the first dress and that the border print would be on the borders. But I still only had enough fabric for one of the three pattern pieces.
I hurried back to Needlewitch and bought the remainder of the bolt which was just enough. I got one back and the sleeves from the first cut of fabric and the front and other back from the second.
The dress has a viscose lining to help secure the shape. The neck and sleeves are finished with gold foldover elastic. The hem is twin-needled over edge tape.
I made a gold cardigan to go with this dress from some fabric in the stash. I used the same pattern as the maxi-dress, but increased the width of each pattern piece. The cardigan turned out surprisingly well for something that was thrown together the day before I wanted to wear it.
I continue to be exceedingly happy with this pattern. This fabric is spectacular and made a dress I am very pleased with.

Monday, 26 September 2016

Jersey maxi-dress

When we were in New Zealand I bought some jersey with the intention of making a maxi-dress. I wasn't sure where I would get a pattern from but I knew I wanted such a dress. Then I did a performance-wear sewing class and made a fitted-to-me leotard pattern. I used the leotard pattern as the base of my maxi-dress pattern. I widened it a fair bit, because a dress doesn't need to be as snug as swimwear. The leotard pattern came with long sleeves so finding sleeves was no problem.
During my sewing classes I learned a) that I had broad shoulders and b) how to adjust a pattern to fit them. I did the adjustment on the maxi dress pattern (all by myself) and it worked beautifully. I had often found clothes tight in the shoulders but I hadn't realised it was a 'thing'.
For the skirt I got all the pieces of McCall's 6608 and laid them out to match with the seams and waist of my bodice pattern (adapted from the leotard) and traced around the edges. I then went round with a metre ruler and tried to make the skirt roughly the same length all the way round. I should add that this is an incredibly unscientific method and I wouldn't rely on it to be anywhere near accurate.
The resulting skirt pattern was huge so I then folded it in (pivoting from the hip) until the pattern would fit on my fabric. The amount of skirt left in the dress is very nice and I don't think I would want it to be fuller.
The dress has a knee-length viscose lining to prevent the weight of the jersey in the skirt from stretching the bodice too much. The neckline and sleeves are finished with folder-over elastic .
I am so, so happy with this dress. The fit is just right and it's very comfortable.

Tuesday, 13 September 2016

Winter Blast

By the time summer ended I had enough 40s’ dresses to allow me to dress like Bioshock as often as I wanted to. Unfortunately, it soon got too cold for short-sleeved dresses. (Actually, my air-conditioned office had always been too cold for them but it has become too cold for dress + cardigan)

So I started planning a winter 40s dress. I wanted my new dress to have bishop sleeves and a tie neckline and a longer skirt. I also decided to go with a belt rather than a waistband. This meant that even though this was supposed to be a new dress from a pattern I already had, I ended up having to redo every pattern piece.
 I found this extant pattern image which verified the authenticity of my design - source
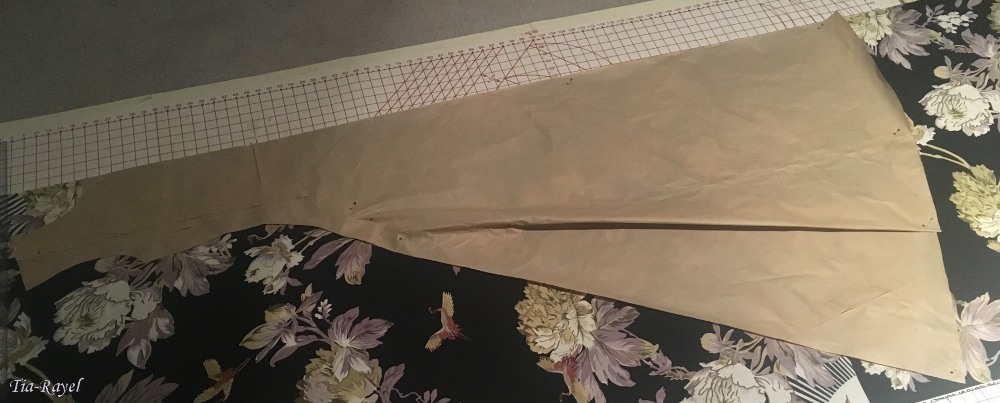
It took many goes to get the bishop sleeves right. The (short) sleeve pattern I was using is puffed and I decided to keep the puff and the thin upper sleeve before expanding the sleeve again in the lower arm. The final pattern looked like this:
The bodice adjustments didn't all work properly at first; it took a fair bit of fiddling with the final garment to have an level waistline and it still dips a bit in the back. I have tried several times with this pattern to have the bodice gathered into the front waist seam but it never looks right. I ended up using a single pleat into the waist seam. There is still gathering at the shoulders. Now that I've done more pattern-fitting classes I think I might be better off completely redrafting this dress because, while it works, there are plenty of places where the fit is fudged or poor in ways that I now know how to adjust properly.
The fabric is a rayon print I bought in New Zealand. I bought about 5 metres of it with no project in mind. Buying substantial lengths for the stash is a new thing for me but it's pretty good for when I want to make something now and because my needing fabric and shops having good fabric cannot be relied upon to coincide. The rayon was a bit jelly to work with so I starched it before cutting but I couldn't say for certain whether it helped. I also underlined the bodice with black faille to make it a bit more stable.

I inherited the belt buckle from my great aunt's stash; it is likely to be old but has to be after 1966 - it still had a price tag attached in decimal currency (25c). The colour goes so beautifully with the fabric. I wasn't sure about the authenticity of the print at first but I did come across a couple of examples of black 40s’ fabrics with largish floral prints so I think it's close enough.
I started this dress on a Sunday and decided that I really wanted to wear it on the Friday night. I worked pretty constantly on it through the week but still had to be sewn into it 5 minutes before leaving because I hadn't had time to sew on the clip fasteners. The belt wasn't made yet either.
 The dress is finished now and I am glad to have 40s’ clothes as a viable wardrobe choice this season.


Saturday, 27 August 2016

The gift of fabric

I have made some more real clothes recently.

This shirt from Vogue 8323:
And this skirt from McCall's 6608:
I thought I had finished making these shirts last time I posted about them but apparently I had one more left. To my surprise I found I liked the cowl-necked view better than the crossover view. I don't think I will make any more though. Something doesn't fit right across the shoulders, and while the square should adjustment I did helped, it's un-right enough to annoy me.
Both these fabrics were given to me by my mum as birthday presents. I've had the velvet for a while because I couldn't work out what to do with it. I think it looks very nice as this shirt but I wouldn't make another one in velvet because the nap pushes against a coat and bunches up in the armpits. This was sad discovery as I have a number of very pretty velvets in the stash that I've been trying to work out what to do with for ages.

The purple floral was a recent gift for the express purpose of making this skirt. It is most lovely.

Sunday, 7 August 2016

For such a picnic as this

My school friends used to organise occasional picnics with dress codes. For one, the theme was 'heroines' and I chose to go as Esther as characterised by Veggietales in Esther: The Girl Who Became Queen. In the show Esther has three outfits and, naturally, I chose the most extravagant one.
I searched all of Canberra and part of New South Wales looking for a burgundy fabric with a gold stripe, but apparently such a thing doesn't exist. I had to settle for a plain satin. If I ever find the elusive stripe I will make the dress again because the satin has an unpleasant texture and the weave is skewed so it doesn't hang straight. I couldn't do anything about it at the time because I only had a short amount of time before the picnic. The outfit wasn't completely finished in time for the picnic so I wore it held together with bulldog clips.

For a pattern, I used a 1960s pattern that I had previously modified to be an underdress for a 1930s dress (the overdress for which I haven't made yet).
For Esther’s waistpiece, I cut down my Victorian corset pattern (TV110) and cut the back on the fold instead of having it lace up (more details here). I also added extra centre front panels as I didn't want a gap and slimming wasn't necessary. This was the first corset I made with a coutil layer. My outer fabric was the gold brocade leftover from my doublet (used right side out this time) and the lining was yellow, leftover from my Victorian gown. This corset has since had a lot of wear in my everyday wardrobe.
I made the gold and purple thing down the front separately then sewed it to the dress. For wearing, it pins onto the corset, hiding the lacing. I was trying to keep the plasticky 'computer generated' texture of the character in the show so, for the purple, I used craft foam. The gold is a smoothly textured satin leftover from a barbie costume. It's sewn together on the sewing machine – the foam sews fine (but it doesn't unpick well). The 'gem' is a cheap ring I found in a jewellery shop when on holiday after the picnic.
The frame of the shoulder piece is made of buckram edged in gardening wire. It has faux suede on the outside and satin on the inside. It was all sewn together by hand; trying to get a needle through two layers of suede around buckram and wire is a painful process. This is the only thing I've managed to break a hand-sewing needle on (and a heavy duty one at that). The collar opens at the front and fastens with snaps. In the animation there is a shiny pattern on the suede but I didn’t want to risk damaging the fabric for something that is barely noticeable. I also didn't quite manage to get the shape of the turned up edges – such sculpting is a bit beyond me. I chose the white fabric because of its texture. The jewel is made from sculpey III and has a purple craft gem in it.


Sunday, 24 July 2016

Pictures!

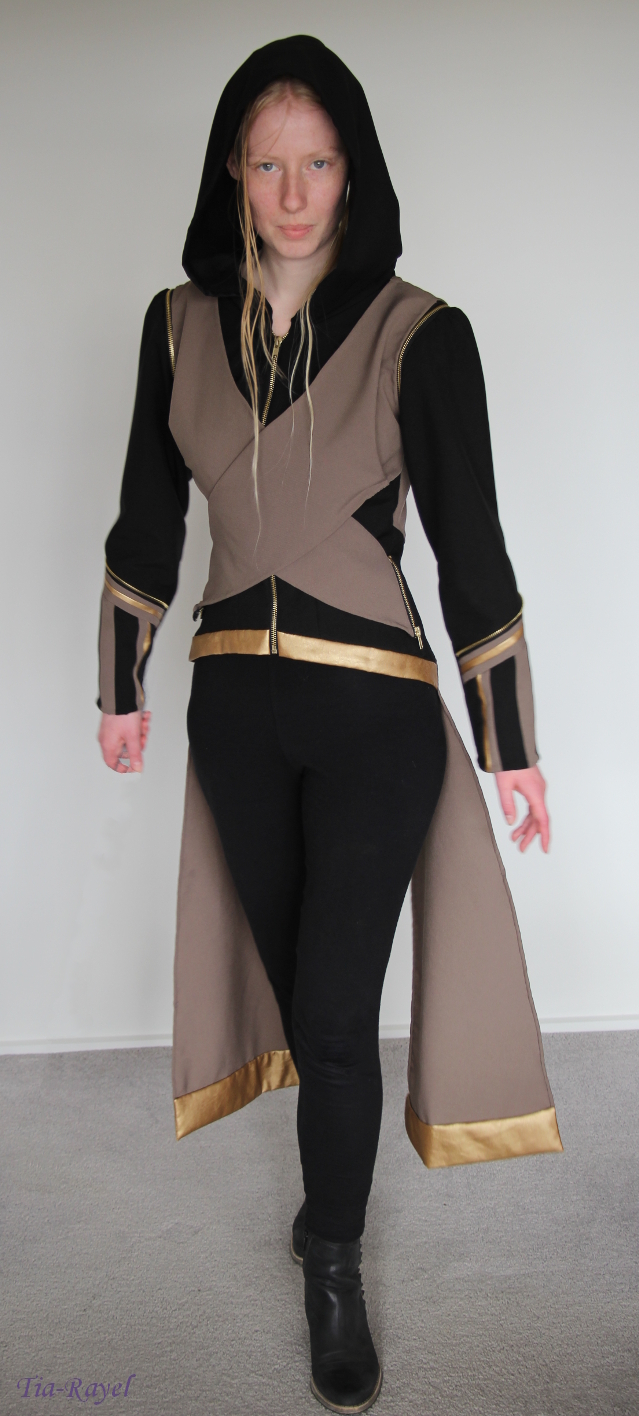
I am finishing the trilogy of Asgard posts (design, construction, finished) with a photoshoot.
I was so pleased with how this outfit turned out. There was a lot of work and problem solving but I think I managed to make an original outfit that was culturally consistent with Asgardian style.
I wear this as real clothes and not a costume. Mostly I get asked if it is something from Assassin's Creed.