Showing posts with label Underpinnings. Show all posts

Sunday, 11 February 2018

A quick stay

In the tail end of last year I made a new set of regency stays. I seem to have made a ludicrous number of regency stays but they never quite turned out right. After some adjustments, the last long stays I made became quite good to wear but they definitely had a later silhouette. They’re great for 1830s but the next gown on my list is from 1815 and it needs a rather more abrupt shape with a higher waistline and rounder bust.
1815 and 1824.
I started out with my 1820s-30s long stays pattern (adapted from figure 36 in Corsets and Crinolines). Based on the previous one I made I altered the shape a bit to increase the lacing gap and make more room for my hips. I added a second bust gusset and made the starting point of the bust gussets higher. This had the effect of raising my (empire) waistline by nearly an inch. I also made the gussets rounder rather than completely triangular. The end result is much more the silhouette I was aiming for.
I used the welt method to construct the stays as it halves the required number of seams to sew and keeps the inner and outer layers correctly aligned. I did a little bit of quilting under the bust but mostly left the stays plain. I wanted to finish these pretty quickly so I could get on to making my dress (which I had originally planned to be done in time for Jafa last year. Lol.) I may add some more quilting or cording later if it seems to need some more support.

The stays are made from coutil and drill, with a wooden ruler for a busk and cable ties for boning. I stitched the eyelets by hand. This is the first time I’ve used a proper tailor’s awl to do hand-sewn eyelets. I was able to get much larger eyelets this way so these stays will be a lot easier to lace than my others. The fit of these stays is not exactly right - the lacing gap is smaller at the top than I'd like and there’s still not quite enough room in the hips but I don’t think any of this will cause problems when wearing it.
Old and new.
I did a new mock-up of my ballgown bodice and it fit almost right first go. With my previous stays nothing I did could make the bodice have the right look. These new ones fit the earlier silhouette much better.

So, regency stays were the last thing I made in 2017 and a Regency chemisette in muslin was the first thing I made in 2018. I used view D from the Simplicity 4052 (by Sense and Sensibility). Again I was working at speed, with a view to getting a small project out of the way as soon as possible, so some of my technique was perhaps not the best. Still, it turned out quite well, even the cheat square shoulder adjustment I did while cutting the fabric.

Wednesday, 21 June 2017

1830s behind the scenes

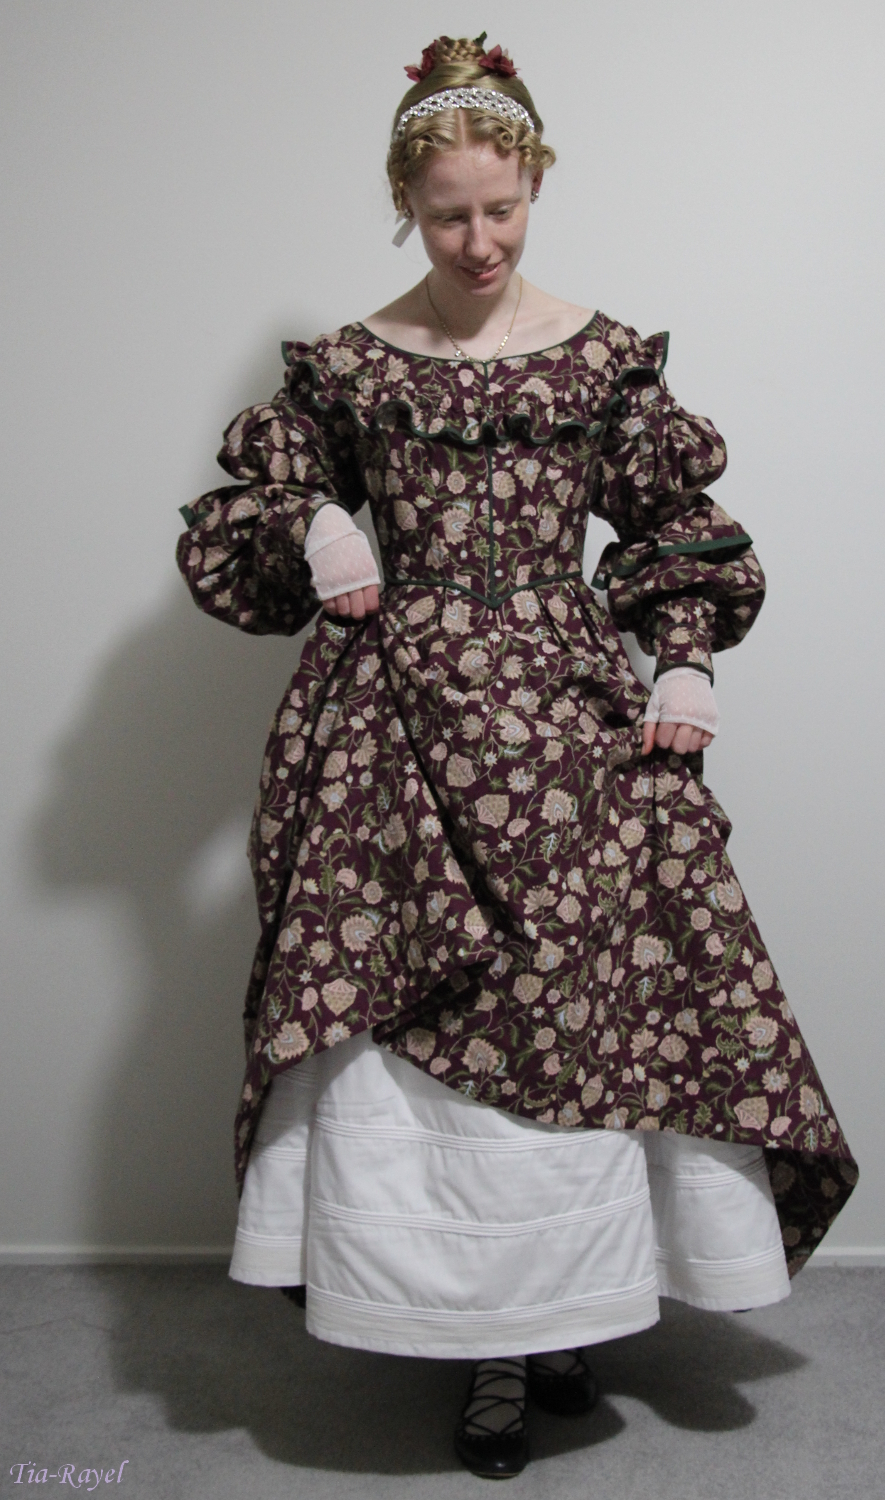
I made a corded petticoat to go with my 1830s dress. The petticoat is made from 3 widths of fabric giving it a 3metre circumference. This is possibly more than it needs to be; it does rather fold in on itself.
I cut each piece a lot longer than I wanted the skirt to be and folded the excess under to hold the cording. I sewed the cords around in a spiral. The first cord I used was my trusty, neverending roll of string that I usually use for piping. Unfortunately it turned out to be not stiff enough to hold out a skirt and because it was thin it needed many, many rows that were tedious to do. I decided to get proper piping cord (and made the poor girl at Lincraft measure out 30 metres of it). I worked out the arrangement of rows based on the length of cord. These rows went in much faster and hold the skirt out very nicely.
I used a length of petersham ribbon for the waistband and it closes with two sets of tapes.
The 1830s dress is also worn with my late regency long stays. I have adapted them since last Jafa with hip gussets and a busk. The stays are much more comfortable now.
I curled my fringe with a new method of curling – using straws. You wrap your hair around the straw, fold the straw over and use a bobby pin to hold both ends of the straw together. It worked marvellously. The straw just slides out so the ringlet is not disturbed. I also used a styling mousse when setting the curl, another thing I discovered recently.

Friday, 14 April 2017

15th time's a charm

I attended a corset making workshop over two weekends. We made the Laughing Moon Dore corset in twill and silk dupion.
Despite this being my 15th corset there were a lot of firsts for me. First time using silk, first time using spring and spiral steel bones, first time having someone in the room who knew what they were doing.

The corset was made using a method where the outer and lining layers are constructed separately, which allows for a final opportunity to tweak the fitting once you have the front (busk), back (lacing) and all the lining together. I didn't find that last fit particularly useful as there was still no boning so I will probably continue to use the welt method in future. The welt method ensures that your seams line up and that the panels on both layers are the same size. It is also a faster method.

I was surprised at how unscientific the fitting was. Measurements were only taken to choose a pattern and the rest was done by adjusting mockups. Mine had to be made smaller than the smallest pattern size (because of course it did) and also an inch longer above and below the waist. This solved a problem I've had in the past where the hips fit ok and the bust fits ok but the corset can't reach both at the same time.
A lot of the course reaffirmed that what I had taught myself was right but I did pick up a few valuable new techniques. One was seeing how the fitting was done. Another was inserting the waist tape. I also learnt that I don't want to use spiral steel boning again. I had so much trouble getting the ends on and then several came off in the boning channels anyway. Just cutting the bones to length was a challenge. I think I will stick with cable-ties for the time being.

I had been hoping to learn flossing which is something I've heard about and tried for myself but never had a clear understanding of. Sadly that wasn't covered by the course. Still, I have bought thread to do some flossing with and will attempt to educate myself further. I was lucky enough to find in the limited range of topstitching thread the perfect colour to match my lace. Eyelet lace and ribbon was included in the class kit; however since I was making a proper, purple, silk corset nothing but gold would do. So I bought a metre of hand-dyed guipure lace to use instead.
Attaching the lace was a precision exercise. The top of the lace is two rows with an indent between them. One of the rows had to be under the bias binding to secure it and I wanted the other outside the bias to be a neat edge. If I unfolded the bias I wouldn't be able to see what I was doing. So I lined up the fold of the bias on the edge of the lace and used a zipper foot with the needle a bit further over than usual.
Going fast with this setup was an accident waiting to happen so I disconnected the foot pedal and used the hand wheel. By the end my wrist was very tired.
It turned out perfectly.

The corset gives me a more defined waist than I was expecting, which I think pushes the silhouette a bit later into the century. That said, given my hip-to-waist ratio, I really shouldn't be surprised. Lacing it up gave me a two inch waist reduction without my barely noticing. I haven't made a corset fit well enough to get a reduction before so that took me by surprise too.

The fit I ended up with was pretty much right (insert celebration here). The hips are snug but in a good way, I've got a reasonable lacing gap and the top half fits right too.

Saturday, 27 June 2015

Lengthy holidays at the Prince’s hotel*

I have written before about how my bodiced petticoat is better than short stays over a chemise. When I began fitting patterns for my new regency dresses I discovered that the bodiced petticoat had a fault of its own: putting it on for 10 minutes would give me back-ache for the next three hours. It’s been a few years since I made it, and quite a while since I last wore it, so I supposed I may have changed shape a bit.
I decided to (or rather, needed to) make new stays. I decided to try long stays as my experience with other corsets has been that most of the support comes from the hips rather than the shoulder strap. I think the strain on the shoulder straps was the main source of my discomfort in the short stays.
I started with the long stays pattern from Corsets and Crinolines scaled up using my favourite method of a data projector and paper stuck to a wall. From this I produced a mock up but the fit was really odd so I decided to try a different approach.  

On myself I measured the length I wanted the stays to be and I measured my circumference at a lot of different points. I worked out roughly where on me I wanted the edges of the front panel to be and measured that. On my pattern paper I drew two horizontal lines to mark the length of the stays; one marking the top and one the bottom. On the pattern paper I marked the various points at which I had measured the circumference. I then used the Corsets and Crinolines pattern to create the shape of the front pattern piece according to the measurements I had taken. For the other pieces  I shaped the edges by tracing the basic shape from the Corsets and Crinolines pattern but changed the angles and distribution so that, at each of the points on my body that I’d measured, the pattern would have the right circumference measurement to fit me.  

I have no Idea if this is the proper way to fit patterns (or a reliable way) but it worked fairly well on this occasion. (I’m sorry if the explanation above was incomprehensible.) 
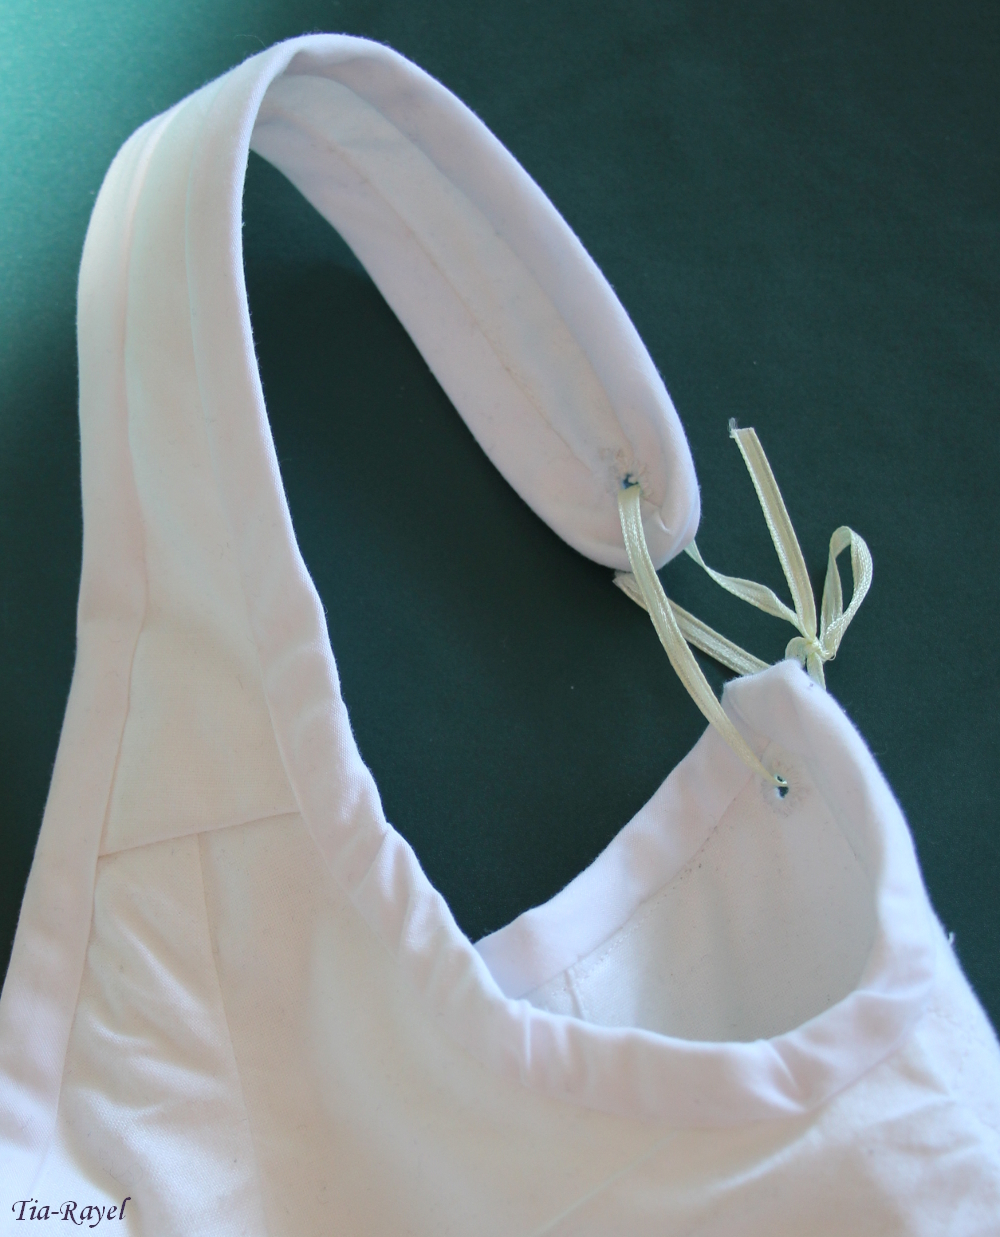
The stays are made from two layers of fabric interlined with coutil. I experimented with having a busk but I didn’t like the shape. Instead I put in a small number of cable ties (because I didn’t want to research cording or reed). I did some quilting over the front, vaguely inspired by the design in the book (although my design became significantly simpler as I grew tired of doing quilting). I got my new sewing machine when I was nearly finished this project so I was able to test out the eyelet feature. The eyelets it sews (and especially the hole made by the eyelet punch) are smaller than I am used to, so I had to use bodkins when lacing - but otherwise they’re good. The only problem was the machine doesn’t like non-level surfaces or small spaces, so I had to do the eyelets in the bound strap by hand – which made me even more glad I had a machine to do the rest.  
I wore my new stays to JAFA over an old, bulky chemise and discovered a host of problems that need to be addressed. (That’s what a first wearing is really for though, isn’t it?) The worst one was that the front, cable ties included, spent most of the time folded up on itself. I propose to solve this by using a wooden busk (like I should’ve in the first place) and putting in hip gussets. The pattern in Corsets and Crinolines had hip gussets but I took them out, because it was way too big in the hips, and reshaped the side panels. Turns out it does need a bit more give.

I feel like I’m just ‘making stuff up’ as solutions to my problems rather than actually knowing what I’m doing. I’ve made 13 corsets and corset-like garments now and I still can’t seem to get them right. I think I’m missing something fundamental about the mechanics of a corset but I don’t know what. We’ll see if my plans work.
All that said, I am happy with how these stays turned out. They are more comfortable than short stays or the bodiced petticoat and they give me a better regency silhouette. Once adjusted, they will be even better.


*Googling ‘regency stays’ finds you lots of “Regency” hotels; ‘regency stays backache’ finds you the ones with uncomfortable beds.

Friday, 28 November 2014

Regency underpinnings

When I first made a regency dress I wore it over the chemise and short stays from the Sense & Sensibility pattern. I found this to be a very bulky combination, especially under the finer fabric of my ball gown, which showed all the bumps from the garment underneath.  When I made a second chemise I made the body pieces thinner so as to have less gathering but this still didn’t solve the problem.
So I set about making a ‘bodiced petticoat’ – basically an underdress that is fitted and supportive. This would mean wearing only one layer beneath the dress and that layer wouldn’t be all gathered.  

In my research I found several bodiced petticoats that had been made from dress patterns (instructions are available on the site) but I didn’t like that idea as I wanted the support of stays. I also wanted my petticoat to do up in the front which the dress-style ones didn’t seem suited for.

I found this extant garment online and I think I found others at the time, which were more like what I was going for:
source
I ended up making a set of short stays and adding a skirt. I have found the bodiced petticoat to be greatly preferable to a chemise and stays. 


Wednesday, 12 March 2014

The Difference a Deadline Makes

or All You Need to Know to Write Essays on the French Revolution

In 2007 chemise dresses started appearing all over the costuming blogosphere. I decided to follow the trend and make my own. I had received The Cut of Women’s Clothes for my 18th birthday (pro tip: having an 18th birthday is a great way to start a sewing library) so I used the diagram from that (based on this dress) to cut out my dress. It’s largely made up of rectangles, so I didn’t make a pattern. There is a lot of fabric in the dress and it all has to be gathered by drawstrings at the neck and waist. I left out the mid-chest drawstring from the original because I didn’t like the way it looked.
My hair has the leftovers of blue dye in it – doesn’t quite manage to look like 18th century hair powder.
The dress is made from white voile which has fine gold threads running through it. I used purple lace to trim it and purple satin for the sash and hat. The dress is worn over a corset and petticoat. The petticoat is two rectangles of fabric gathered to a waistband.
The corset was made from the pattern in Period Costume for the Stage and Screen but unfortunately my pattern scaling skills weren’t up to scratch and it ended up being too small. It was still wearable, but the lacing gap is huge. I mean to make a new 18th century corset but I am unable to get my head around the horizontal boning. I left that feature out of this corset, but I do think it would be better to include it. I bound the corset by hand and did the eyelets by machine. The outside fabric ended up being quite baggy so I realised it needed to be constructed differently. Now I use this method for 3-layer corsets.
I trimmed a straw hat to wear with this dress and for evenings I wear it with a turban (which should probably have a feather in it).
My chemise dress won 3rd place in the Canberra. It was finished in a rush the day before entries had to be delivered because I put in the entry form before it was finished and then proceeded to get distracted by other projects. It turned out to be quite easy and didn't deserve being put off for most of the holidays.
I've worn this outfit a few times at the Jane Austen Festival Australia.
This style of dress is known as a chemise a la reine, and was made popular by Marie Antoinette. As with everything she wore, it was criticised for being against the values royals were supposed to uphold. In this case, chemise a la reine was thought to be immodest. Some of her other outfits were criticised for being too fancy, or not fancy enough. The poor woman just couldn’t win.  
The above teachable moment was brought to you by a high school presentation and a university essay – because knowing your fashion history is an excellent way to get a handle on historical politics.


Saturday, 7 September 2013

If you put your mind to it, you can turn any assignment into a dress

  I made this dress in 2008 for a presentation to my history class on Victorian fashion.

This is how I covered my history book at the start of the year… I had plans.

The design came from a fashion plate and a partial pattern in the introduction to Patterns of Fashion 2 called ‘The Gainsborough Princess Dress’ and is an 1879 natural form gown. When I have a book full of complete, scaled patterns, I have to use incomplete, unscaled one. Obviously.
So, who read the introduction? (My dress is represented in plates 23 and 24 on page 8.)

The fabrics are all synthetic curtain materials because that made it possible to get the same textured fabric in different colours, but as a result the dress doesn’t breathe very well. I didn’t think a lot about fabric types at the time I made this, which is a shame, because I would wear it more often if the fabric was better. On the plus side, it doesn’t need ironing. I chose the colours based on how I imagined the dress, rather than on research, but I have since come across many fashion plates from the era using the same palette.
This dress actually has the least tenuous connection to the assignment of the other ones I’ve made.

The outfit is worn over a corset and chemise. The chemise is an inelegant combination of cotton rectangles and lace that I made up to be as simple as possible. The corset is made from Truly Victorian pattern TV110, which I found to be an excellent pattern to learn corsetry from. I’ve used its method for all the corsets I have made since.
I used cable ties for bones in the corset.

Almost all Victorian bodices I’ve seen the have been boned and had waist tapes. I would like to include such features and ‘do it properly’ but I have never really had a good enough understanding of how they work. When I first made this dress I wasn’t even sure how to do it up; originally the outer coat closed with an inward facing busk (which was very soon replaced by hooks and eyes).

I made the outfit as a ruched skirt worn with a coat that has a fake waistcoat front. Rereading the instructions on the plate to write this blog, I’m not sure that was how it was supposed to be done, but it worked. The coat has a contrast collar which was my first experience with revere collars and a fold back at the lower edge of the front opening. I also had to learn how to make cuffs.

Most fashion plates from the era show dresses as having a more decorated train, but the pattern didn’t provide any indication or means to do that for this dress, so I left it plain.  After a couple of wears I added a hook and loop so the train could be hitched up out of the way.
 

I found it a bit difficult to work out how to do the skirt ruching from the fashion plate drawing. The pattern for the ruched layer is basically the same as the skirt pattern but twice as long.  The image only has the gathering up the front, but that wasn’t going to be strong enough for this fabric. I turned to 19th Century Fashion in Detail for inspiration.  This dress from the same era had a ruched skirt but with several lines of stitching fixing the gathering. I decided that the drawing was just a drawing and went with the method from extant example.
 

I made this outfit over a two-week holiday. My mum, who taught me to sew, was working that during that time which was actually very useful in fostering my abilities to sew independently.
The hat has a hairpin through the straw under the feathers, to affix it to a hairstyle.

I made a small decorative hat to wear with it, but didn’t have time to make the chemisette from the fashion plate. The hat is probably not very historically accurate, but it served the purpose at the last minute.

The talk I presented in this dress to my history class covered how fashion changed during the 19th Century and the technological changes the affected it. The assignment required me to speak for 15-20 minutes, but I got special dispensation to go for 40 minutes. The talk ended up being on the same day as my presentation on ‘The Tempest’ in my English class, for which I wore my Venetian dress. I took a suitcase to school that day and spent lunchtime changing gowns and redoing my hair for the different eras.
It’s possibly worth mentioning at this point, that I got ‘The Anachronistic Award’ upon graduation.

I have since given this talk again, in costume, at a local church's 'Discovery Group' which hosts educational mornings for its retired members.

Tuesday, 6 August 2013

Look what a wardrobe here is for thee!*

*The Tempest Act 4 Scene 1 Line 223

To continue the theme of school assignments: this is the dress I made for a presentation on Shakespeare’s The Tempest. The assignment was to perform a monologue followed by a short talk about our interpretation and presentation. (I did Miranda’s monologue that begins 'If by your art, my dearest father'.) We didn’t have to perform in costume – most people didn’t – but I wasn’t going to give up an opportunity for a new dress.

My choice of design was largely motivated by several Venetian dresses showing up in the online costuming world in the year before, but of course I had task-appropriate reasons too (some of them were probably a bit of a stretch really…)

Shakespeare’s play was written in 1610ish so assuming that Prospero left Italy in the 1590s I supposed the fashions he would be familiar with would be those from the time he left or slightly earlier. (This style of dress appears throughout the 16th Century). Miranda was a small child at the time they left Italy, so her adult clothes would either need to have been taken with them or have been magically produced, which would remove any need for historical reference. (I am unable to justify why they would have a Venetian dress, at least, not beyond “I wanted one”.) I used portraits (mostly from Realm of Venus) for reference which, happily, included an example in dark blue. Story-wise my choice of blue represents the ocean around the island on which Miranda lives.

For the bodice I think I just used my body block pattern and drew diagonal lines down the front. It is ladder laced with lacing rings. The lacing rings are better than the D-rings I initially used but the opening still tends to gape a bit. The skirt is made up of two rectangles knife pleated into the bodice. This was the first pleating I had done, so it was mostly done intuitively (and was upside down the first time I did it). I hemmed the dress by measuring up from the bottom of the fabric, so it’s slightly longer at the front than the back. The shoulder straps are done hideously, as I didn’t know how to make lined bodices properly then.

I had planned to wear this outfit without a corset as the bodice is boned, but after trying it on I discovered that it really needed the sturdy layer underneath. As I needed to wear it the next day I wore it over my Victorian corset (which made the front V rather the wrong shape), but I have since made a version of the effigy corset to wear with it.

My effigy corset was made using a pattern generator which I can no longer find. It was also made in a rush and so is bound very messily by machine and has metal eyelets rather than hand-sewn ones. We were on holidays at the time, and I had to use the sewing machines of three relatives to get it done. It was my first experience of flat-felled seams. I found the straps uncomfortable and unnecessary so I have since removed them.

Front-lacing corsets are so much easier to put on...
Since making this dress I have compiled a list of things that could be added or changed, but I’ve never done any of them.  It has served me very well as is, being worn on numerous occasions - to parties and medieval festivals and by others to whom I have lent it.
Mother and daughter, going to the tournament
When I wear this dress I do my hair in a braided up-style interwoven with string pearls. Often with a veil, should someone insist that I cover my head in the sun.

Tutorial under the cut…