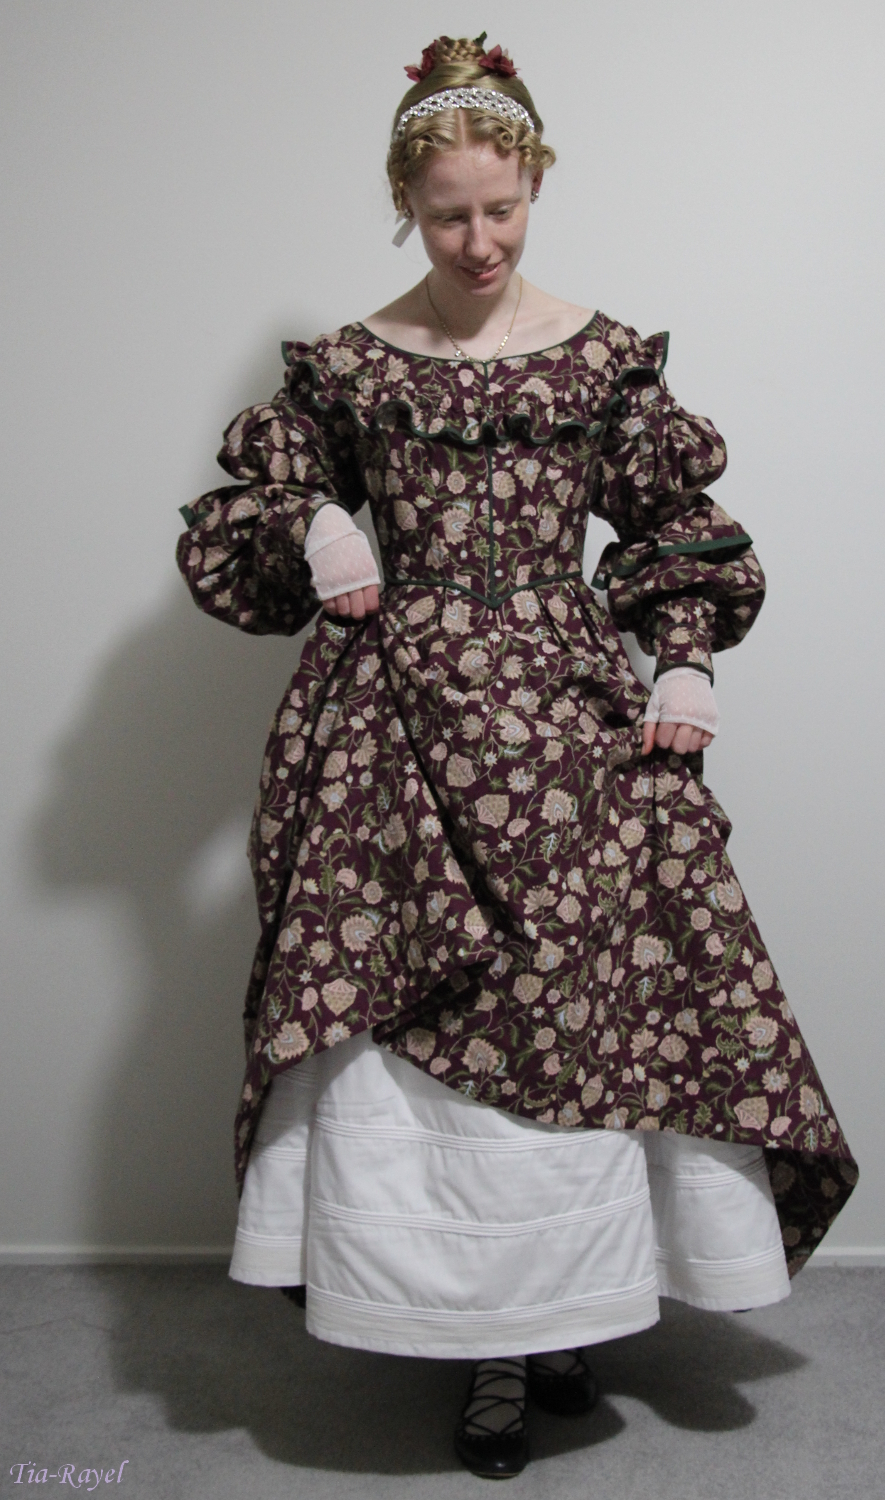
I finished my 1830s ballgown, but what is an 1830s anything without Too Much in the way of trimming? Therefore, I decided I wanted a belt to go with the dress. And then I wanted a belt with trailing ribbons. And then I wanted an organza ruffle down each ribbon. Finally, I decided to add bows.
Inspiration:
I was very happy with the method I came up with for constructing the belt. I cut two lengths of the silk and a lining of coutil (no seam allowance on the coutil). The coutil is stitched securely to the belt back. Then I sewed the belt seams with the front piece not quite reaching the edge of the back piece. This means that when the seams are done the front piece will be slightly wider than the back.
I sewed the seam just below the edge of the coutil and pressed the allowances to sit behind the coutil. Once the belt is pulled through, the front piece of silk neatly covers all the edges of the coutil and the seams and any bulk from the seam allowance sits at the back.
The ribbon trails are pretty straight forward. I didn't interface them because the silk was sturdy enough on its own. Then I came to the organza ruffles. Turns out once you've cut two large sleeves out of a piece of fabric on the bias there aren't a lot of long, reasonably wide strips to be had. So it was back to Cardif. I figured I would want about 2 metres length to get the degree of ruffling I wanted. They had a metre. That makes three different silks I have 'bought the roll' of for this dress, and none of them had as much as I thought I would need.
To get the 2 metres for the ruffle, I joined two 1 metre lengths with a seam that, thankfully, doesn't stand out too much, and the length was pretty much right. I gathered the strips by hand, then sewed them down by hand. I am trying to have no visible machine stitching (the inside of the belt here qualifies as 'not visible').
The bows are made from two rectangles cut on the bias and sewn into a loop. I couldn't use the tailed bow design that came with my pattern because I did not have enough purple left (are you noticing a theme here?). By removing the tails I ended up with a pattern just small enough to squeeze what I needed out of the silk. Even so, I still have more purple left over than silver.
I had only just enough fabric for this dress in the best possible way. I still got to use the fabric I had imagined and the design is much more interesting. I am so happy with how this gown turned out.
Showing posts with label Victorian. Show all posts
Monday, 16 April 2018
Wednesday, 11 April 2018
Enough, Enough Now
My last post was about the fabric (silk!) that I am using for an 1830s ballgown. After cutting all the pieces – and a couple of strips for binding – I had this much fabric left over:
Skirt
Because of the limited fabric, I faced the skirt hem and waist. The facing is cotton homespun which I also used for flatlining the bodice. As with my previous 1830s dress, I sewed a strip of wadding around the hem, used double inverted pleats at the front waist and cartridge pleating at the back.
Bodice
I gave this bodice a straight edge (the pattern has a centre front peak) because I want to have a belt that goes with it. It is finished with self-binding – cut on the straight because that was all the fabric I had left. The back seams and neckline are piped in purple. The centre bodice and shoulder seams are self-piped. I didn't want to use purple next to the bertha as I thought the white/dark contrast would be distracting.
I had the very smart idea of doing all the hand sewing before putting the sleeves on the bodice. Sewing on the hooks and eyes and binding the sleeve flounces was much more convenient when the pieces were not attached to each other. Usually I wouldn't do this, because a dress can be worn with these features incomplete if it really needs to be but, for once, I had started sewing with plenty of time.
Bertha
The pattern I am using has a bertha. Its version is made of alternating strips sewn down to overlap.
I didn't think that would work so well for me, what with the organza being see-through and all, so instead I pleated my organza all in one piece, along the lines of how my inspiration portrait looks. The raw edges are tacked underneath.
The bertha is attached to the bodice by being caught in the shoulder, sleeve and centre front seams. I did do a little bit of tacking near the shoulders to stop the fabric overlapping the neckline. Said tacking is hidden under the third layer of pleating so as to not affect how the edge of the organza sits.
Sleeve
The top of the sleeve is knife pleated. I used a cable tie to gauge the width (because it was lying around nearby) and kept pleating until the sleeve was the width I wanted. The resulting ruffles are perhaps not quite as nice as they would have been had I had enough fabric to cut them on the bias but less fancy ruffles are better than no ruffles. The other ruffles are just gathered and all are edged with purple silk bias.
I used French seams on the organza puff – I have mixed feelings about French seams but they turned out all right here. The rest of the seams are finished with Hong Kong binding. To hold the organza puff in place I made a rouleau from the organza and stitched it down at the top and bottom of the puff and into the sleeve seam.
I love how the sleeves turned out. I’m very glad I didn’t have enough silver for them – I think this looks so much better. My only qualm is that the puff could probably afford to be a bit bigger but that’s not a significant problem.
| 4 metres was enough, but only just. |
Because of the limited fabric, I faced the skirt hem and waist. The facing is cotton homespun which I also used for flatlining the bodice. As with my previous 1830s dress, I sewed a strip of wadding around the hem, used double inverted pleats at the front waist and cartridge pleating at the back.
| Dear future self, use 1cm stitches for cartridge pleating skirts, not 2cm stitches. |
I gave this bodice a straight edge (the pattern has a centre front peak) because I want to have a belt that goes with it. It is finished with self-binding – cut on the straight because that was all the fabric I had left. The back seams and neckline are piped in purple. The centre bodice and shoulder seams are self-piped. I didn't want to use purple next to the bertha as I thought the white/dark contrast would be distracting.
| I thought the inside colour scheme turned out quite nice. |
Bertha
The pattern I am using has a bertha. Its version is made of alternating strips sewn down to overlap.
![]() |
| Source |
The bertha is attached to the bodice by being caught in the shoulder, sleeve and centre front seams. I did do a little bit of tacking near the shoulders to stop the fabric overlapping the neckline. Said tacking is hidden under the third layer of pleating so as to not affect how the edge of the organza sits.
Sleeve
The top of the sleeve is knife pleated. I used a cable tie to gauge the width (because it was lying around nearby) and kept pleating until the sleeve was the width I wanted. The resulting ruffles are perhaps not quite as nice as they would have been had I had enough fabric to cut them on the bias but less fancy ruffles are better than no ruffles. The other ruffles are just gathered and all are edged with purple silk bias.
I love how the sleeves turned out. I’m very glad I didn’t have enough silver for them – I think this looks so much better. My only qualm is that the puff could probably afford to be a bit bigger but that’s not a significant problem.
Monday, 2 April 2018
Not Enough
After the 1830s day dress I made last year turned out so well, I decided to make another one for this year’s Jafa, but this time a ballgown.
I’ve been thinking more and more about silk recently. I want to get away from using artificial fibres so much because the lack of breathability gets uncomfortable after a day’s wearing. I used silk in the corsetry workshop I did last year and again on trimming my 1830s bonnet. It was so good to work with that now, having used it, I don’t want to go back.
On the other hand, silk is expensive. I was hoping to find some cheaper silk when I went to Cabramatta. I had decided on blue to match a (not-remotely historical) necklace I had bought myself as a reward for being brave at work but turned out not to go with any of my everyday necklines. Alas, there was no silk to be had when I visited.
So, plan B. There’s been an embroidered silver silk dupion at Cardif Collective that I’ve been admiring for years. No-one's ever bought it so I figured that if I found nothing in Sydney I'd go with the silver. The embroidery is perhaps not completely accurate but I did find a few very embroidered skirts which would make it passable.
They all had relatively simple skirts so that would save a few metres I would otherwise have needed for self trimming the skirt. The pattern recommended 8m but the silver silk is pretty wide, so I figured I could get away with 3m for the skirt, 1m for the bodice and 1m for each sleeve.
I went out to Cadif the Saturday afternoon after the Sydney trip and found that the roll of silk was thinner. Horror! Three year’s sitting unbought and the same day I go to get it someone else bought half of it.
There were 4m remaining. I did some maths at the counter and figured I could possibly, maybe, perhaps squeeze it out of 4m. I also wanted 2m of purple silk, the same as I had used for the corset, for a belt and trimmings and 2m silk organza for lining the sleeves, making 8m of silk in total.
Back in August I won a sewing machine in the Gamma.Con cosplay contest, sponsored by Cardif. As I am quite sufficiently supplied with sewing machines, Cardif generously allowed me to exchange the prize for store credit. So this is my actual prize: enough silk for a ballgown.
Because I had 1m from which to get what I originally thought would take 3, I had to change my plans a bit. I had planned to do a bertha for this dress but given the limited fabric I chose to make it in organza rather than use the silver.
I am reusing the Powerhouse museum pattern and modifying the sleeve design. My new design has a row of knife pleating, one puff and lots of flounces.
Laying the bodice pieces carefully allowed me more than half a width for the sleeves. However there was absolutely no way I was going to get all of the sleeve pieces out of that (and definitely not cut on the bias).
I was also not entirely sold on the organza bertha – the contrast seemed a bit random; I couldn’t find a way of continuing it around the whole neckline (something to do with curved lines and straight lines not being the same thing). Then my sleeve problem and my bertha problem solved each other: I could use organza for the large puff on the sleeve! The bertha no longer looks out of place and I think I have (just) enough fabric for everything.
I’ve been thinking more and more about silk recently. I want to get away from using artificial fibres so much because the lack of breathability gets uncomfortable after a day’s wearing. I used silk in the corsetry workshop I did last year and again on trimming my 1830s bonnet. It was so good to work with that now, having used it, I don’t want to go back.
On the other hand, silk is expensive. I was hoping to find some cheaper silk when I went to Cabramatta. I had decided on blue to match a (not-remotely historical) necklace I had bought myself as a reward for being brave at work but turned out not to go with any of my everyday necklines. Alas, there was no silk to be had when I visited.
So, plan B. There’s been an embroidered silver silk dupion at Cardif Collective that I’ve been admiring for years. No-one's ever bought it so I figured that if I found nothing in Sydney I'd go with the silver. The embroidery is perhaps not completely accurate but I did find a few very embroidered skirts which would make it passable.
They all had relatively simple skirts so that would save a few metres I would otherwise have needed for self trimming the skirt. The pattern recommended 8m but the silver silk is pretty wide, so I figured I could get away with 3m for the skirt, 1m for the bodice and 1m for each sleeve.
I went out to Cadif the Saturday afternoon after the Sydney trip and found that the roll of silk was thinner. Horror! Three year’s sitting unbought and the same day I go to get it someone else bought half of it.
| There is none of the silver left. However, last I saw there was still a roll in hot pink. Don’t all buy it at once. |
| I bought the last of the purple too; not as much as I wanted but I have some left over from the corset workshop. |
Because I had 1m from which to get what I originally thought would take 3, I had to change my plans a bit. I had planned to do a bertha for this dress but given the limited fabric I chose to make it in organza rather than use the silver.
![]() |
| Helene of Mecklenburg-Schwerin as a bride, 1837. |
Laying the bodice pieces carefully allowed me more than half a width for the sleeves. However there was absolutely no way I was going to get all of the sleeve pieces out of that (and definitely not cut on the bias).
I was also not entirely sold on the organza bertha – the contrast seemed a bit random; I couldn’t find a way of continuing it around the whole neckline (something to do with curved lines and straight lines not being the same thing). Then my sleeve problem and my bertha problem solved each other: I could use organza for the large puff on the sleeve! The bertha no longer looks out of place and I think I have (just) enough fabric for everything.
Sunday, 10 December 2017
Everything is Extravagant
I didn’t have time before Jafa this year to make a bonnet to go with my 1830s dress so I decided to get it done plenty early in preparation for next year. I used the Lynn McMasters Romantic Period Bonnet pattern. The base of the bonnet is buckram edged with gardening wire and with thin batting tacked on.
The pattern definitely worked but I did have a few issues with it. I would recommend it for an experienced sewer who is willing to fill in the blanks a bit. The pieces aren’t numbered and use a lot of colours and symbols that are not fully explained. The instructions do not have as many pictures as I would have liked. The instructions also have a peculiar obsession with view C. I made view A, the one in the hero photograph, but the instructions kept referring me to the view C section. The rim of the bonnet in the hero photo is edged with a shaped binding piece but the pattern piece for this is not included. Instead you have to make it yourself by using two halves of an unrelated pattern piece, oriented in a new direction, and attached to a specifically sized rectangle. This struck me as a very odd decision especially when they have printed out full patterns for the ties which really only needed a guide to the angle and width and could then be any length you wanted.
I wanted the bonnet colour scheme to go with the dress but not be too matchy. To this end I bought some olive green satin and a remnant of pink silk. The green didn’t make it to the final product. I decided I wanted to do pleating on the bonnet in several places and the green fabric did not have enough body to hold a pleat. I’m still a bit sad that the bonnet isn’t green but I think the pleating is more important.
Instead I chose a good solid satin in my favourite shade of purple. It’s a surprisingly hard colour to find and there was only just enough for the bonnet - if there had been enough for a dress I would have used it for that instead. I think it still goes ok with the dress.
I pleated the top of the crown. I was hoping to do box pleats but in my attempts they came out very uneven. To do the pleating I cut out two circles and cut a slit in each from the edge to the centre. Then I sewed them together. I used a minimal seam allowance and sealed the edges with fraystop.
I also put piping around the edge of the pleating. Usually I have many ideas about how to decorate something and have to limit myself to two, maybe three of these. But with 1830s, you go into it with a handful of ideas and that may not be enough.
I pleated the brim as per the pattern hero photo and pattern instructions (ie use a piece primarily meant for something else that has no guides for where the pleats go) but didn’t manage as many pleats as are in the photo. I had to piece the brim because of my limited fabric but I think it is disguised well enough.
Last year at Jafa I took in my fabric samples and bought some feathers to go on my planned green bonnet. I also bought a few other feathers that were so pretty I just couldn’t leave them. I was very glad of this when I changed colour scheme as my planned feathers were too dark for the new fabric but the pretty ones were perfect. And too long for me to fit the bonnet in my box of hats, but you can’t have everything.
The pattern definitely worked but I did have a few issues with it. I would recommend it for an experienced sewer who is willing to fill in the blanks a bit. The pieces aren’t numbered and use a lot of colours and symbols that are not fully explained. The instructions do not have as many pictures as I would have liked. The instructions also have a peculiar obsession with view C. I made view A, the one in the hero photograph, but the instructions kept referring me to the view C section. The rim of the bonnet in the hero photo is edged with a shaped binding piece but the pattern piece for this is not included. Instead you have to make it yourself by using two halves of an unrelated pattern piece, oriented in a new direction, and attached to a specifically sized rectangle. This struck me as a very odd decision especially when they have printed out full patterns for the ties which really only needed a guide to the angle and width and could then be any length you wanted.
I wanted the bonnet colour scheme to go with the dress but not be too matchy. To this end I bought some olive green satin and a remnant of pink silk. The green didn’t make it to the final product. I decided I wanted to do pleating on the bonnet in several places and the green fabric did not have enough body to hold a pleat. I’m still a bit sad that the bonnet isn’t green but I think the pleating is more important.
Instead I chose a good solid satin in my favourite shade of purple. It’s a surprisingly hard colour to find and there was only just enough for the bonnet - if there had been enough for a dress I would have used it for that instead. I think it still goes ok with the dress.
I pleated the top of the crown. I was hoping to do box pleats but in my attempts they came out very uneven. To do the pleating I cut out two circles and cut a slit in each from the edge to the centre. Then I sewed them together. I used a minimal seam allowance and sealed the edges with fraystop.
I also put piping around the edge of the pleating. Usually I have many ideas about how to decorate something and have to limit myself to two, maybe three of these. But with 1830s, you go into it with a handful of ideas and that may not be enough.
I pleated the brim as per the pattern hero photo and pattern instructions (ie use a piece primarily meant for something else that has no guides for where the pleats go) but didn’t manage as many pleats as are in the photo. I had to piece the brim because of my limited fabric but I think it is disguised well enough.
Last year at Jafa I took in my fabric samples and bought some feathers to go on my planned green bonnet. I also bought a few other feathers that were so pretty I just couldn’t leave them. I was very glad of this when I changed colour scheme as my planned feathers were too dark for the new fabric but the pretty ones were perfect. And too long for me to fit the bonnet in my box of hats, but you can’t have everything.
Labels:
1830s,
19th Century,
Headwear,
Historical,
Jafa,
Victorian
Wednesday, 21 June 2017
1830s behind the scenes
I made a corded petticoat to go with my 1830s dress. The petticoat is made from 3 widths of fabric giving it a 3metre circumference. This is possibly more than it needs to be; it does rather fold in on itself.
I cut each piece a lot longer than I wanted the skirt to be and folded the excess under to hold the cording. I sewed the cords around in a spiral. The first cord I used was my trusty, neverending roll of string that I usually use for piping. Unfortunately it turned out to be not stiff enough to hold out a skirt and because it was thin it needed many, many rows that were tedious to do. I decided to get proper piping cord (and made the poor girl at Lincraft measure out 30 metres of it). I worked out the arrangement of rows based on the length of cord. These rows went in much faster and hold the skirt out very nicely.
I used a length of petersham ribbon for the waistband and it closes with two sets of tapes.
The 1830s dress is also worn with my late regency long stays. I have adapted them since last Jafa with hip gussets and a busk. The stays are much more comfortable now.
I curled my fringe with a new method of curling – using straws. You wrap your hair around the straw, fold the straw over and use a bobby pin to hold both ends of the straw together. It worked marvellously. The straw just slides out so the ringlet is not disturbed. I also used a styling mousse when setting the curl, another thing I discovered recently.
I cut each piece a lot longer than I wanted the skirt to be and folded the excess under to hold the cording. I sewed the cords around in a spiral. The first cord I used was my trusty, neverending roll of string that I usually use for piping. Unfortunately it turned out to be not stiff enough to hold out a skirt and because it was thin it needed many, many rows that were tedious to do. I decided to get proper piping cord (and made the poor girl at Lincraft measure out 30 metres of it). I worked out the arrangement of rows based on the length of cord. These rows went in much faster and hold the skirt out very nicely.
I used a length of petersham ribbon for the waistband and it closes with two sets of tapes.
The 1830s dress is also worn with my late regency long stays. I have adapted them since last Jafa with hip gussets and a busk. The stays are much more comfortable now.
I curled my fringe with a new method of curling – using straws. You wrap your hair around the straw, fold the straw over and use a bobby pin to hold both ends of the straw together. It worked marvellously. The straw just slides out so the ringlet is not disturbed. I also used a styling mousse when setting the curl, another thing I discovered recently.
Tuesday, 13 June 2017
Ahem, a hem
I found this webpage particularly useful as it showed an 1830s dress completely inside out which is something I’d had trouble finding. Following the 'Hem from the Waist' method it describes, I hemmed the skirt while it was still separate from the bodice.
The hem of the skirt is quite deep so I did the whip stitching with the skirt lying flat on the table to ensure the fold stay lined up where it was meant to. The hemming took a few days and was not the most comfortable thing to do.
Once the skirt piece was hemmed, the waist seam was pinned to the bodice while I was wearing it, ensuring that it was the correct length from the floor all round. I found this to be an easier way to get an even length on the skirt than taking up the hem after the skirt is attached to the bodice (although still suspiciously unscientific).
The base of the hem has a strip of wadding sewn inside it to hold the skirt out. The dress is worn over a corded petticoat.
I finished the dress and petticoat four days out from the festival (probably a personal best) which gave me just enough time to make something else. All in all this dress took a month to make. I was working full time but sewed pretty much constantly when I wasn't at work, starting at 6 o'clock in the morning.
My mum did my hair in a very nice, simplistic, 30s style. Since I didn't have time to make a bonnet I wore the Polish Casquette I made last Jafa which was trimmed in exactly the right colours.
| More about the Chemise a la reine here |
I am very pleased with the finish quality of the outfit too. The insides are neat, the fit is good, my historical and general sewing techniques are so much better than they used to be and I am just all-round happy with this. I think it's my favourite costume that I've made.
![]() |
| Photo by Stephen Shaw. |
Subscribe to:
Posts (Atom)