Showing posts with label Tutorial. Show all posts

Tuesday, 17 October 2017

It's only fitting

One aspect of the sewing lessons I have been taking is figure analysis. Turns out I have a peculiar figure, with a long, thin torso but more significant hips and shoulders. It's a figure that looks nice but it makes it difficult for me to find trousers I can wear and I often find clothes tight in the shoulders. According to my sewing teacher, it's the perfect figure for late Victorian (coincidently, the 1870s is my favourite era for clothes) and she recommended that I try 1950s’ style.

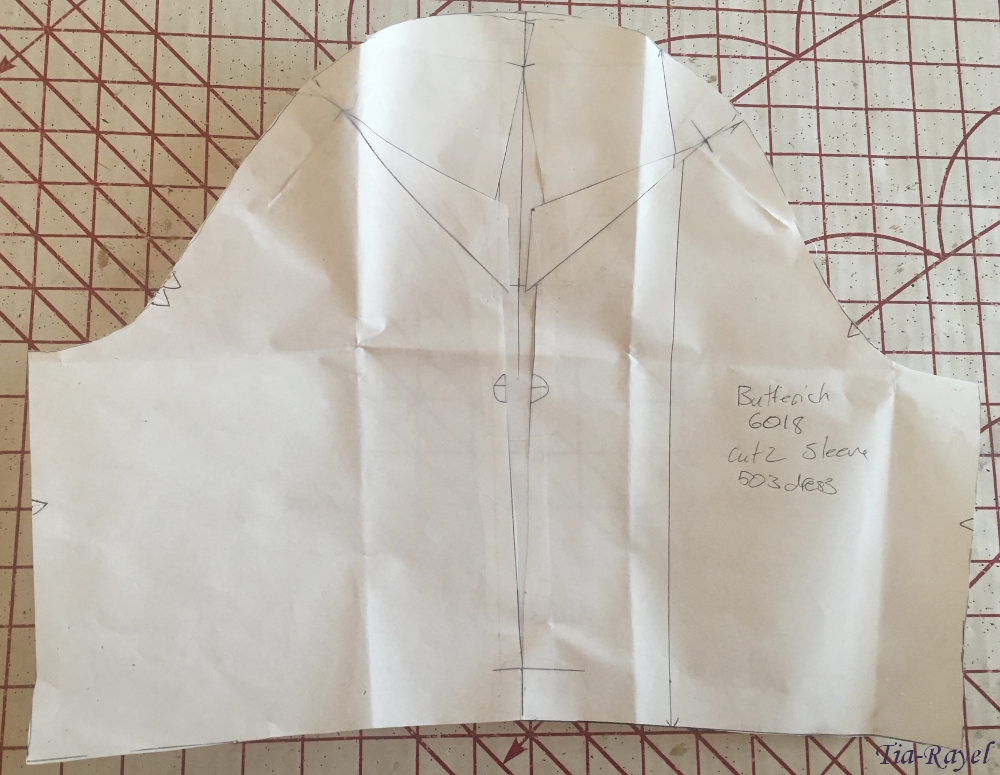
I had made a couple of 50s dresses already but the walkaway dress has its problems and my Ava Gardner dress is too fancy for every day. So I picked up Butterick 6018 and, armed with my new patternmaking skills, set out to make it Fit Properly.
The skirt fit as is but my arms and shoulders were very uncomfortable. The armscye was cutting into my underarm at the front which is a problem I often have (and the reason I can hardly ever bring myself to wear this dress 🙁). I consulted my figure analysis textbooks which basically said that it was impossible for an armscye to not fit properly. Ok... that sounds fake, but ok. I did what the book said and looked for the tell-tale wrinkles indicating other problems that could make it feel like the armscye was wrong. There were none. The bodice looked like it fit perfectly.

After spending an evening in directionless confusion I decided to do a 1cm square shoulder adjustment anyway because I usually need those. The new mock-up hurt less although it made no difference to the cutting into me. It was time for drastic measures. Google offered no advice so I invented an adjustment myself. I lengthened the armscye (front and back) by 2cm just above where it was starting to irritate me.
This might be a real adjustment, it might not be, it might be a good idea, it might be a terrible idea. Copy at your own risk. But it worked for me.

This solved the armscye problem and removed a lot of the puff from the sleeves (I mean, I know ease is a thing, but there has to be a line somewhere). But after this adjustment the top of the sleeve was really tight. Now, arm movement might be a luxury not a necessity, but I thought I could do better than that. So I then did a half centimetre broad shoulder adjustment, which helped, but the sleeve was still tight. My final adjustment was a large upper arm adjustment, done higher up the sleeve than usual. Again, this is probably not the right thing to do to a sleeve after lengthening the armscye, but I didn't want to risk increasing the ease. Now I have a comfortable, custom-fitted 50s’ pattern and I can't wait to sew it up for real.
As far as my patternmaking goes, I want to say that it's great now that I know what I'm doing. I can diagnose a problem, work out the solution and fix it but, given what I've written above, it seems I am still doing a lot of guessing and making things up. But I am more confident with my guessing and it is working out successfully. The patterns resulting from these techniques are ones I have no reservations about and don't continuously think "well, it sort of worked, but I should change this or that next time". I don't know; maybe I just needed to know the rules so I could break them properly.

Tuesday, 20 May 2014

"We work in the dark to serve the light"


The Assassin’s Creed: Revelations outfit has a number of decorative designs on the fabric. In some images they look like embroidery and in others they don’t, so I have chosen to make the designs by bleaching the fabric.

To get the hood and skirt designs, I traced over reference pictures in GIMP with my drawing tablet. I then manipulated the picture to make the designs symmetrical and flat.

For the doublet I decided to use the assassin logo which is how it appears in game, although there is a different symbol on most of the promotional art. The design I used is readily available online, being printed on t-shirts and the like. (I would like to express my gratitude to Ubisoft for making costumers’ lives easier for once!)

My design patterns for bleaching – not to scale:
Hood Back
Hood Top
Hood Beak
Hood Side
Upper Skirt
Lower Skirt
Once I had my designs, I printed them on overhead transparencies which I then cut into stencils.  For the bleach, I used a Milton bleach tablet moistened in a small amount of water and applied it with a paint brush. I had to be careful with the consistency – I mostly had it at ‘almost a paste’. If the mixture was too liquid the bleach would run under the stencils.
Once I had finished the bleaching I let it sit for 8 or so hours, then rinsed out the fabric.
Out to dry – but not outside because by this time it was 9pm.
And here are the finished pieces:


Assassin’s Creed belongs to Ubisoft.

Sunday, 19 January 2014

Corset tutorial

Last year I made a corset and pair of cuffs to be part of my everyday wardrobe.

The corset is a cut down version of TV110; the cuffs are a pattern my mother draped on my wrist. (It’s difficult to drape a pattern on your own wrist.)

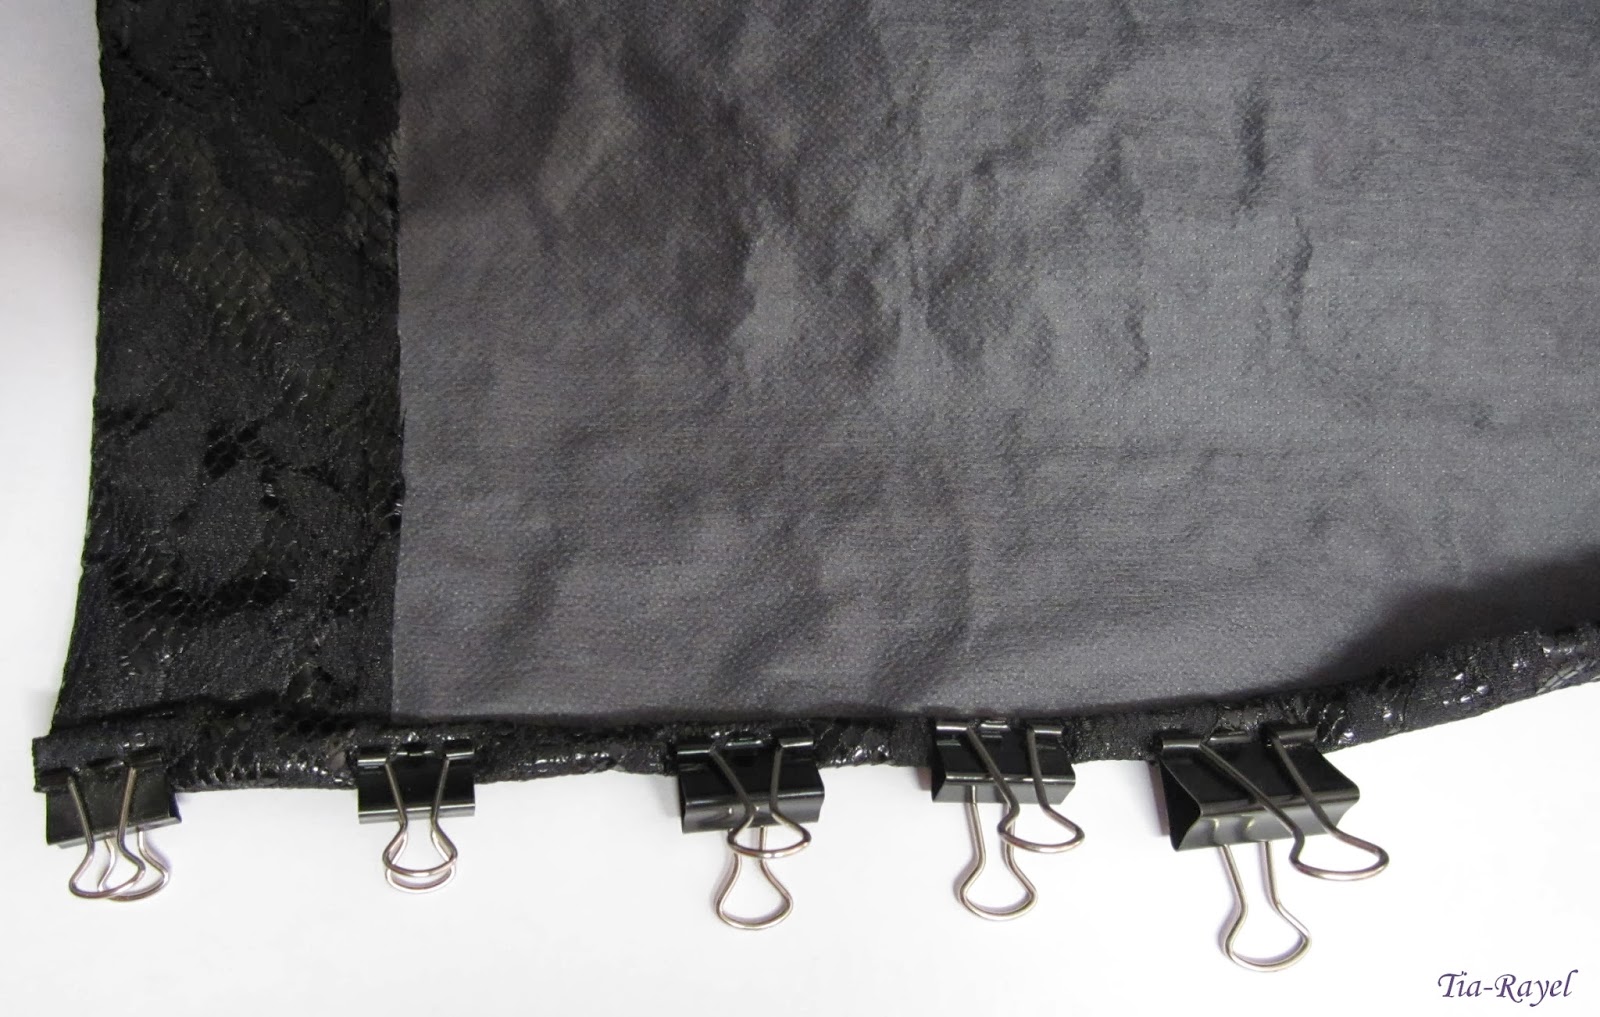
Because the fabric I used didn’t repair pin holes I used clips instead. I sewed the cuffs by hand – getting a sewing machine into the tiny spaces is a lot of effort for a messy result.

Below the cut is a tutorial for how I make 3-layer corsets.  The pattern has boning channels through all layers of fabric and openings in front and back. I adapted the method provided with the pattern because I didn’t want the boning channels to go through the fashion fabric and I wanted a front opening only. There may be better ways of doing this, but when I was trying to solve this problem I couldn’t find any guides. I have since used this method for several corsets and have found it to work quite well. It is an unforgiving method: any adjustments would require taking apart all of the corset sewn after the place needing adjustment.

Tuesday, 6 August 2013

Look what a wardrobe here is for thee!*

*The Tempest Act 4 Scene 1 Line 223

To continue the theme of school assignments: this is the dress I made for a presentation on Shakespeare’s The Tempest. The assignment was to perform a monologue followed by a short talk about our interpretation and presentation. (I did Miranda’s monologue that begins 'If by your art, my dearest father'.) We didn’t have to perform in costume – most people didn’t – but I wasn’t going to give up an opportunity for a new dress.

My choice of design was largely motivated by several Venetian dresses showing up in the online costuming world in the year before, but of course I had task-appropriate reasons too (some of them were probably a bit of a stretch really…)

Shakespeare’s play was written in 1610ish so assuming that Prospero left Italy in the 1590s I supposed the fashions he would be familiar with would be those from the time he left or slightly earlier. (This style of dress appears throughout the 16th Century). Miranda was a small child at the time they left Italy, so her adult clothes would either need to have been taken with them or have been magically produced, which would remove any need for historical reference. (I am unable to justify why they would have a Venetian dress, at least, not beyond “I wanted one”.) I used portraits (mostly from Realm of Venus) for reference which, happily, included an example in dark blue. Story-wise my choice of blue represents the ocean around the island on which Miranda lives.

For the bodice I think I just used my body block pattern and drew diagonal lines down the front. It is ladder laced with lacing rings. The lacing rings are better than the D-rings I initially used but the opening still tends to gape a bit. The skirt is made up of two rectangles knife pleated into the bodice. This was the first pleating I had done, so it was mostly done intuitively (and was upside down the first time I did it). I hemmed the dress by measuring up from the bottom of the fabric, so it’s slightly longer at the front than the back. The shoulder straps are done hideously, as I didn’t know how to make lined bodices properly then.

I had planned to wear this outfit without a corset as the bodice is boned, but after trying it on I discovered that it really needed the sturdy layer underneath. As I needed to wear it the next day I wore it over my Victorian corset (which made the front V rather the wrong shape), but I have since made a version of the effigy corset to wear with it.

My effigy corset was made using a pattern generator which I can no longer find. It was also made in a rush and so is bound very messily by machine and has metal eyelets rather than hand-sewn ones. We were on holidays at the time, and I had to use the sewing machines of three relatives to get it done. It was my first experience of flat-felled seams. I found the straps uncomfortable and unnecessary so I have since removed them.

Front-lacing corsets are so much easier to put on...
Since making this dress I have compiled a list of things that could be added or changed, but I’ve never done any of them.  It has served me very well as is, being worn on numerous occasions - to parties and medieval festivals and by others to whom I have lent it.
Mother and daughter, going to the tournament
When I wear this dress I do my hair in a braided up-style interwoven with string pearls. Often with a veil, should someone insist that I cover my head in the sun.

Tutorial under the cut…