Costumes:
2013 began with making a replica of
Lady Denman’s dress to celebrate the Centenary of Canberra.
I finished work on the costumes for my friend’s film. I learnt some very basic leatherwork and made a pair of boots and two pairs of boot covers. The boots work, but I think I would need to improve my leatherworking ability a lot to make anything else.
My aunt asked me to make a gypsy costume as a gift for her granddaughter. It consists of a blouse, veil and skirt.
I want to record here that I currently have the patterns for two of the three
Assassin’s Creed outfits nearly finished. I was productive in the last quarter of the year; I just didn't finish anything.
Real Clothes:
I made a corset and cuffs.
I started the design for my
big project for the year in January and finished the garment in October. Getting the design from theoretical concept to completion involved a lot of problem solving which caused delays throughout the process but I am very happy that I spent the time to get it right.
During the process I designed and made a
crossover tunic as a bit of light relief.
I am making slow but enjoyable progress on the
Bayeux tapestry dress.
I also made a slip for myself and a halfslip for someone else, neither of which were worth pictures.
In 2013 I made fewer pieces than in any year since I stated costuming. This bothered me a bit (because I have a bad habit of judging myself on quantifiable results) but on reflection I think there were several good reasons for this. One was getting a permanent job, so I had to adapt my sewing/study/other balance to be a sewing/study/other/work balance. There were a couple of months when I just didn’t have the time, so some of my planned outfits didn’t happen. I am also putting more care into my sewing. Where previously I did hems and braid by machine I am now hand sewing a lot of things. Instead of zigzagging seam allowances together, I now iron them out and finish each side separately (which I’m pretty sure is ‘how you sew properly’ but it takes more time. And more thread.)
Learnings and new skills:
I had an epiphany at the start of last year: I finally worked out what seam allowances are for. For most of my life I had left the smallest seam allowance possible because I couldn’t see that they did anything. But now I know better. A wide seam allowance holds shape better, strengthens the seam (so there is less risk of seams giving way) and gives you some leeway with fitting.
When I first heard about ‘no visible machine stitching’ I thought it sounded like far too much work, but I have come around to this way of thinking because it looks so much better. Even with my every day clothes I now expect to do a significant amount by hand. This year I also started doing some of the more fiddly construction sewing by hand because it gives me more control.
 |
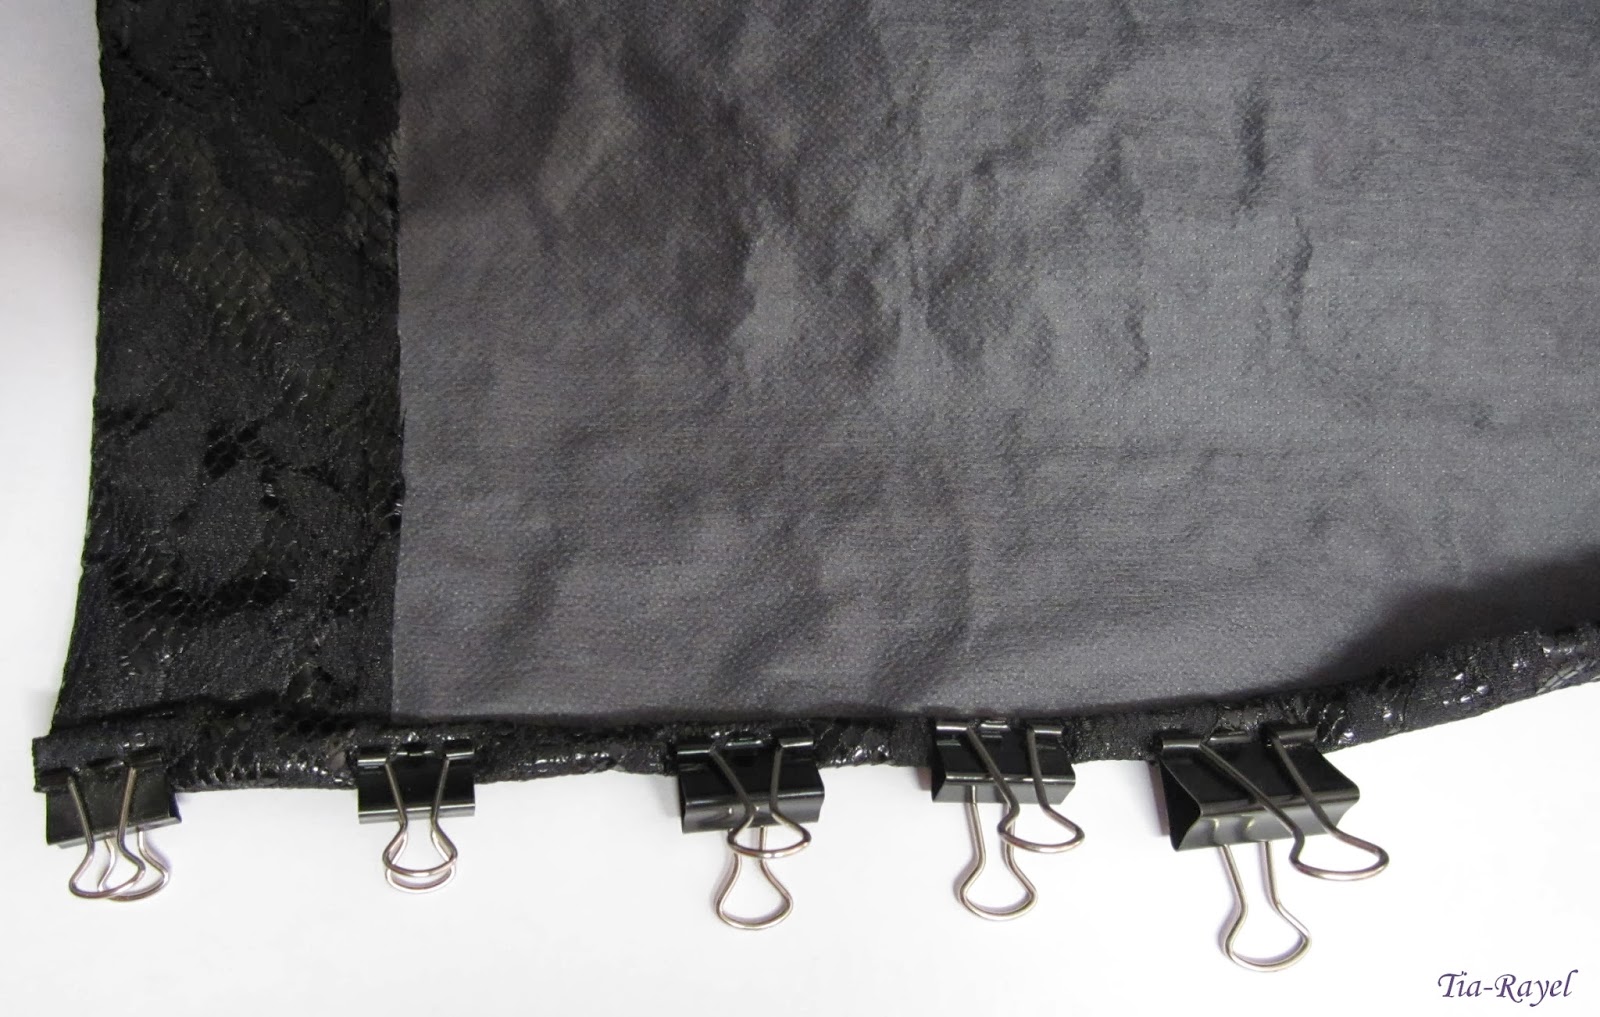
| The grey swathes were hand hemmed, then sewn by hand to the black. |
As mentioned above, I introduced myself to leatherworking this year, but I need to do a lot more before I approach competent.
I never expected that costuming would affect my writing ability, but I have found that writing this blog has improved my writing and made writing easier for me to do.
A new tool I have found very helpful to my sewing this year is photo editing software. I use Gimp 2 (which is free) to touch up photos and add watermarks and also to experiment with designs. This year I used it to try different colour schemes on a scanned drawing, to trace seam locations over a reference picture and to draw additional features on photos of a garment.
 |
| So many seams! |
For my Assassin’s Creed outfit I developed a pattern from my body block rather than adapting pattern pieces from one or more ‘similar’ commercial patterns as I have done in the past. I expect I will use this method more often as most things I want to make are not similar to available patterns but I do not enjoy the process. I’ve spent a fair bit of this week cleaning the house instead of working on my costumes because I’m currently patterning!
When I started costuming my interests were largely historical, but since then my focus is continually changing as I discover new ideas. This year my interest has moved more towards designing everyday clothes for myself that incorporate fictional costume conventions. My distinction between costume and real clothes is becoming more and more arbitrary.


