Wednesday, 12 February 2014

Gold, white and blue

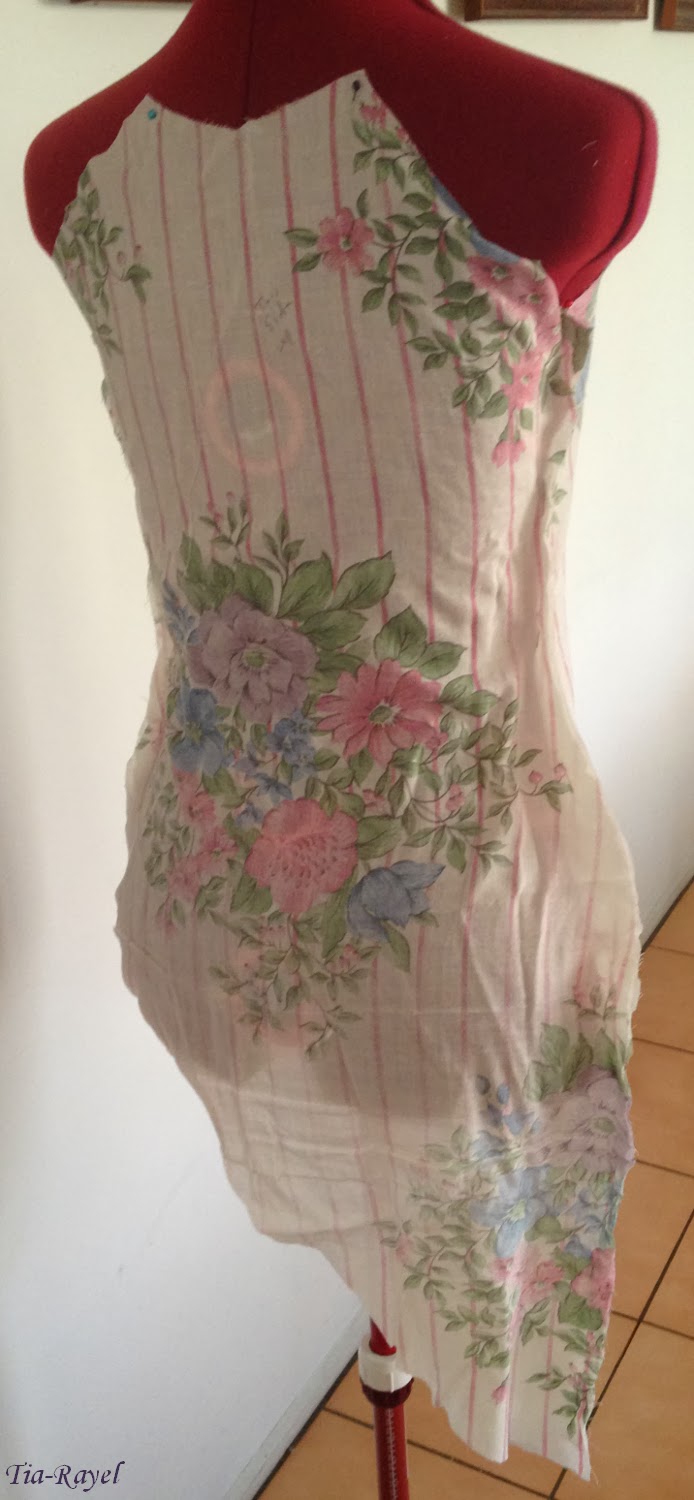
Sometime towards the end of 2010 I was doodling in a lecture and came up with an outfit design. When I got home I drew up the design properly:
I don’t think I planned to take it any further – I have folders full of dress designs I have no intention of making. But later I decided to drape a pattern for it because I hadn’t done any draping and I wanted some experience. It turned out very well, but I still didn’t plan to do anything with it.
Shortly afterwards I found the perfect fabric for the appliqués and realised I had the perfect white already in the stash. This persuaded me to make it. I made some progress but then put the project on hold because I got my hair dyed blue and I didn’t want to cover my white fabric in blue fingerprints.
To make the appliqués I ironed a large section of visoflex to the back of the brocade fabric, then cut my shapes out. For the large gold pieces I began with a basic shape cut from paper which I placed on the material – I did not cut along the smooth top edge but created an uneven edge by following lines on the brocade. For the small pieces I cut shapes from the patterns on the brocade. I cut out a lot of shapes to start with and placed them later. I tried to avoid anything that looked too much like a flower.
The semi-detached sleeves are made from a normal sleeve pattern with the top arc cut off.
The front pieces are faced to strengthen the fabric where the snaps are. Three of the straps are sewn on and one clips on.
The whole thing is bound with gold bias – thereby avoiding the problem of awkward-to-hem shapes. 
 I also made an ear cuff which complements the outfit (based on this tutorial):


Thursday, 30 January 2014

1580s Doublet

This doublet is based on the pattern for a 1585 woman’s doublet on page 107 in Patterns of Fashion 3. I based the rest of the outfit in the illustration on a picture of a woman in a doublet in the introduction to the book.
In my stash I had a remnant of gold brocade that I had bought at a curtain shop that was closing down. I decided to use the wrong side for the doublet because the right side is quite bright and shiny and I didn’t want my doublet to look so rich. There are two layers of linen as interlining which holds some light boning (linen isn’t so expensive when it’s fluoro orange!). On wearing I didn’t think the boning was enough so I now wear the doublet over my effigy stays.
The fabric I used for lining is completely synthetic but was quite nice to work with. I made this doublet when I was still in school and as I hadn’t made a properly lined garment before I took it to school for help. I wasn’t studying textiles at the time but the textiles teacher was my home group teacher and she very kindly gave me a few lunchtime lessons. 

When I finished the doublet I found that the peplum overlapped in a way I hadn’t expected and I wasn’t completely happy with the collar but I was reassured when I saw an extant doublet at Warwick Castle (when I went to England) that had the same issues.
The camica (or undershirt) is made from muslin and constructed entirely from rectangles. It has a very loose weave. Camicas are usually white and I suspect I made up the idea of having a coloured camica – I certainly can’t find that I have any evidence of coloured camicas being historical. The camica and skirt are both hemmed by machine, which horrified me last time I wore it because I wouldn’t make it that way nowadays. I would guess the skirt fabric is a very fine stretch corduroy but from a distance of more than a foot away it just looks like a heavy velvet. The skirt consists of rectangles cartridge pleated to a waistband.
When I do my hair for this costume I don’t use bobbypins to hold the braid in place, but instead ‘sew’ my plait to my head with a ribbon to form a bun.
 I made a flat cap to go with the outfit from this tutorial.

Sunday, 19 January 2014

Corset tutorial

Last year I made a corset and pair of cuffs to be part of my everyday wardrobe.

The corset is a cut down version of TV110; the cuffs are a pattern my mother draped on my wrist. (It’s difficult to drape a pattern on your own wrist.)

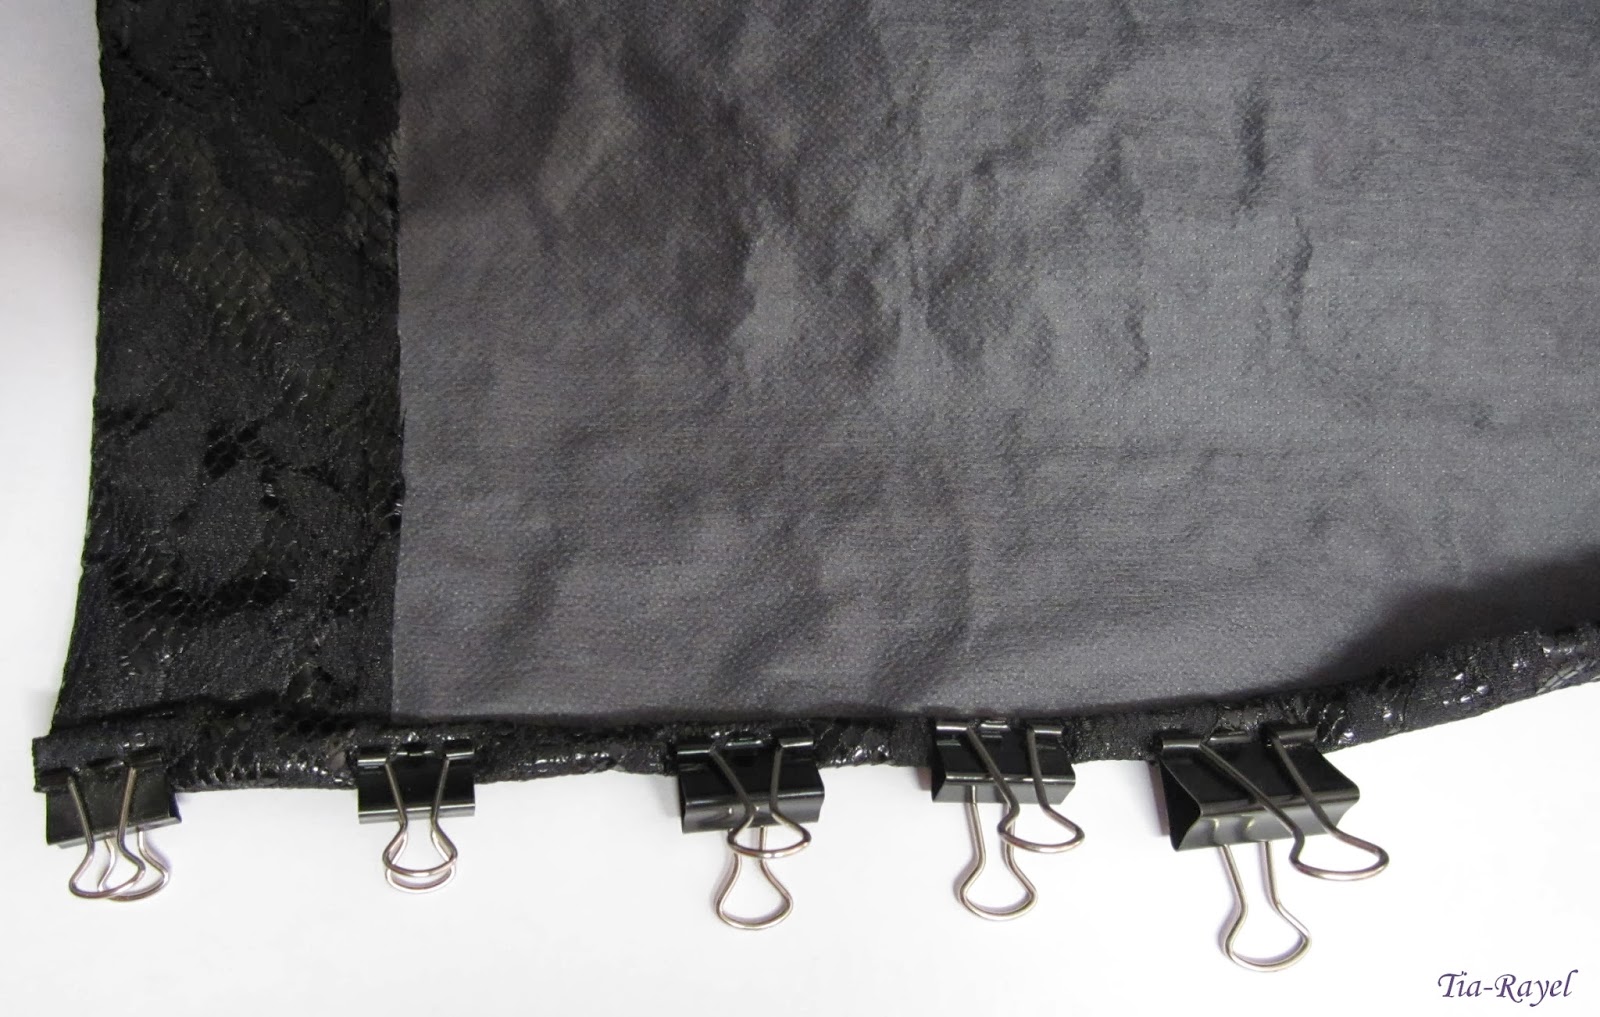
Because the fabric I used didn’t repair pin holes I used clips instead. I sewed the cuffs by hand – getting a sewing machine into the tiny spaces is a lot of effort for a messy result.

Below the cut is a tutorial for how I make 3-layer corsets.  The pattern has boning channels through all layers of fabric and openings in front and back. I adapted the method provided with the pattern because I didn’t want the boning channels to go through the fashion fabric and I wanted a front opening only. There may be better ways of doing this, but when I was trying to solve this problem I couldn’t find any guides. I have since used this method for several corsets and have found it to work quite well. It is an unforgiving method: any adjustments would require taking apart all of the corset sewn after the place needing adjustment.

Sunday, 12 January 2014

2013 Review

Costumes:
2013 began with making a replica of Lady Denman’s dress to celebrate the Centenary of Canberra.
I finished work on the costumes for my friend’s film. I learnt some very basic leatherwork and made a pair of boots and two pairs of boot covers. The boots work, but I think I would need to improve my leatherworking ability a lot to make anything else.
My aunt asked me to make a gypsy costume as a gift for her granddaughter. It consists of a blouse, veil and skirt.
I want to record here that I currently have the patterns for two of the three Assassin’s Creed outfits nearly finished. I was productive in the last quarter of the year; I just didn't finish anything. 

Real Clothes:
I made a corset and cuffs.
I started the design for my big project for the year in January and finished the garment in October. Getting the design from theoretical concept to completion involved a lot of problem solving which caused delays throughout the process but I am very happy that I spent the time to get it right.
During the process I designed and made a crossover tunic as a bit of light relief.
I am making slow but enjoyable progress on the Bayeux tapestry dress.
I also made a slip for myself and a halfslip for someone else, neither of which were worth pictures.

In 2013 I made fewer pieces than in any year since I stated costuming. This bothered me a bit (because I have a bad habit of judging myself on quantifiable results) but on reflection I think there were several good reasons for this. One was getting a permanent job, so I had to adapt my sewing/study/other balance to be a sewing/study/other/work balance. There were a couple of months when I just didn’t have the time, so some of my planned outfits didn’t happen. I am also putting more care into my sewing. Where previously I did hems and braid by machine I am now hand sewing a lot of things. Instead of zigzagging seam allowances together, I now iron them out and finish each side separately (which I’m pretty sure is ‘how you sew properly’ but it takes more time. And more thread.)

Learnings and new skills:
I had an epiphany at the start of last year: I finally worked out what seam allowances are for. For most of my life I had left the smallest seam allowance possible because I couldn’t see that they did anything. But now I know better. A wide seam allowance holds shape better, strengthens the seam (so there is less risk of seams giving way) and gives you some leeway with fitting.

When I first heard about ‘no visible machine stitching’ I thought it sounded like far too much work, but I have come around to this way of thinking because it looks so much better. Even with my every day clothes I now expect to do a significant amount by hand. This year I also started doing some of the more fiddly construction sewing by hand because it gives me more control. 
The grey swathes were hand hemmed, then sewn by hand to the black.
As mentioned above, I introduced myself to leatherworking this year, but I need to do a lot more before I approach competent. 

I never expected that costuming would affect my writing ability, but I have found that writing this blog has improved my writing and made writing easier for me to do.

A new tool I have found very helpful to my sewing this year is photo editing software. I use Gimp 2 (which is free) to touch up photos and add watermarks and also to experiment with designs. This year I used it to try different colour schemes on a scanned drawing, to trace seam locations over a reference picture and to draw additional features on photos of a garment.
So many seams!
For my Assassin’s Creed outfit I developed a pattern from my body block rather than adapting pattern pieces from one or more ‘similar’ commercial patterns as I have done in the past. I expect I will use this method more often as most things I want to make are not similar to available patterns but I do not enjoy the process. I’ve spent a fair bit of this week cleaning the house instead of working on my costumes because I’m currently patterning!

When I started costuming my interests were largely historical, but since then my focus is continually changing as I discover new ideas. This year my interest has moved more towards designing everyday clothes for myself that incorporate fictional costume conventions. My distinction between costume and real clothes is becoming more and more arbitrary.

Saturday, 28 December 2013

"Nothing is true"

My big project for the summer is to make three Assassin’s Creed costumes. I sometimes sew presents for my cousin and this was his choice. As I have considered making one for myself, and every-so-often my dad mentions that he would like one, I decided that if I was going to make one assassin costume I may as well make three.
Left to right: Assassin’s Creed II, Brotherhood, Revelations.
Of course, we have all chosen outfits from different games – making the same outfit three times would be far too straight forward. I have chosen the outfit from Assassin’s Creed II, my dad’s will be from Brotherhood and my cousin’s from Revelations. As much as I can I will try to make them historically accurate, but for the most part the game designs just aren’t true to history and it is more important to me that my costumes be screen accurate.

The outfits are all made of many layers so I needed to carefully analyse the illustrations to work out how many individual garments I would need and which pieces would be sewn to where.

The AC II outfit has a shirt and tunic. The tunic will have a waist seam (to be hidden by the sash) to which all the skirt layers will be sewn. It has two layers of sleeve caps – one slashed and one not.  It took me a while to work out how the various layers worked to get two collars and a hood. I concluded that the hood is a separate piece which is buttoned on under the collar.
The hood looks like a separate piece from the back.
The other two outfits were busier visually so I did the analyses by tracing over pictures in Gimp. The images I used are these screenshots from the game. I also referenced some promotional images. The costumes in the promotional material are not entirely true to what appears in the game which allowed me a bit of choice about how to do things. Having a choice is both helpful and unhelpful.

The Brotherhood outfit has a shirt, a jerkin and a doublet. It has a separate hood as well.
The bottom row is all the jerkin.
The Revelations outfit has a jerkin and doublet but no shirt. Really there probably would have been a shirt worn with it but there isn’t one visible and I don’t need another thing to make and my cousin doesn’t need another layer to wear on a hot day.
The green layer is the doublet, the other pieces are all parts of the jerkin. The red layer is beneath the purple layer in the front and on top of the purple layer in the back.
I suspect I am not using true meanings of ‘doublet’ and ‘jerkin’, but for this project I have assigned them to have the meanings: doublet - ‘sleeveless skirtless outer layer’ and jerkin - ‘sleeved, skirted underlayer’, so I can keep everything straight in my head. At this point I am not planning to make any of the metal or leather pieces.

Assassin’s Creed belongs to Ubisoft.

Monday, 16 December 2013

I can wear evening dresses all day if I want to

As it’s now the season for wearing summer dresses, I thought I would blog about some. I have made a series of dresses from the pattern for a 1929-30 Vionnet evening dress on page 78 in Patterns of Fashion 2. When scaling the pattern I made it slightly more slimline than the original because the original was sheer and worn belted over a petticoat, whereas mine would only be one layer.
It’s a weird dress to make. I’ve found it easiest to describe the skirt as an 8-sided square, although four of the sides are slightly longer than the other four.  The bodice side seams are only about 3.5” long.  This was the first pattern I started hand-hemming, because the satins would look awful otherwise. By the end of it I was very experienced, as each dress has around 10 metres of hem.
I can't decide whether this reminds me more of an octopus or a starfish...
At the beginning it was difficult to work out where all the skirt pieces fitted together and how they fitted onto the bodice. I have now made five versions of this dress.  The first time round I sewed all the skirt pieces together, then made the bodice, and then tried to combine the two. It was a pain to sew all those angles into each other and the resultant seams don’t sit well. In the later versions I started by attaching each skirt piece separately onto its respective bodice piece then sewing the completed dress front to the completed dress back.  This worked much better.
 My first version of this dress was made from a satin fabric with a variegated turquoise and mauve diagonal pattern. I had been looking for a bright print satin but could find  none, so this was a compromise.  I wore it to my friend’s 16th birthday supper.  
The bias-cut bodice is kind of odd to wear – you move your shoulder and the fabric pulls on your opposite hip.

I never quite understood what the pattern intended for the shoulder drapes so I made my own drapes by cutting out spirals of fabric using pinking shears;  I then sewed the spirals on at the shoulders. I also did this for the next two versions of this dress I made. These were gifts for my cousins.  To make their dresses I needed to adjust the original pattern not just for size but also for dimension and body shape. Because the girls live interstate, I made a variety of mock-up bodices that I posted to them so they could each pick the best fit.
My school friends decided to arrange a summer picnic at the end of the year I was making these dresses. The dress code was ‘dresses or button-shirts’.  I could have re-worn the dress from the 16th birthday but, even though it was summer, the Canberra weather was still a bit too cool for that. So, obviously, I needed a new dress.
Spot the camouflaged bolero.
I found some lovely I-have-no-idea-what-it-is fabric at Spotlight. It had a bright and blocky pattern and would be warmer than the satin. On the day before the picnic I made myself a second dress using this pattern and, to go with it, I made a bolero from Style 2302.
Sourced from my mother’s pattern stash.
On the morning of the picnic I machine-hemmed the eight-sided skirt and trimmed a straw hat to match (which has since been untrimmed). I was one of the few at the picnic who had decided to brave the weather in a dress; however I learnt the hard way that this skirt is difficult to control in the wind.
Or, alternatively, that it spins well.
I had wanted a bright print satin for this dress when I had made my first one so I was never entirely happy with the variegated fabric, so when I found some blue and green patterned satin it seemed like a good reason to make another one.  This time I added sleeves.

The sleeves are squares of fabric with the armhole shape cut out diagonally below centre.
All of the dresses have different skirt length and slightly different necklines. When cutting the pattern I initially cut the fabric straight along the shoulder seam line and then chose the neckline afterwards and shaped it while trying it on.
I don’t think I cut this neckline at all.
My first attempt at this dress is now a summer house dress. Because I can wear a satin 1930s Vionnet evening dress around the house during the day if I want to!