Last year I made a corset and pair of cuffs to be part of my everyday wardrobe.
The corset is a cut down version of TV110; the cuffs are a pattern my mother draped on my wrist. (It’s difficult to drape a pattern on your own wrist.)
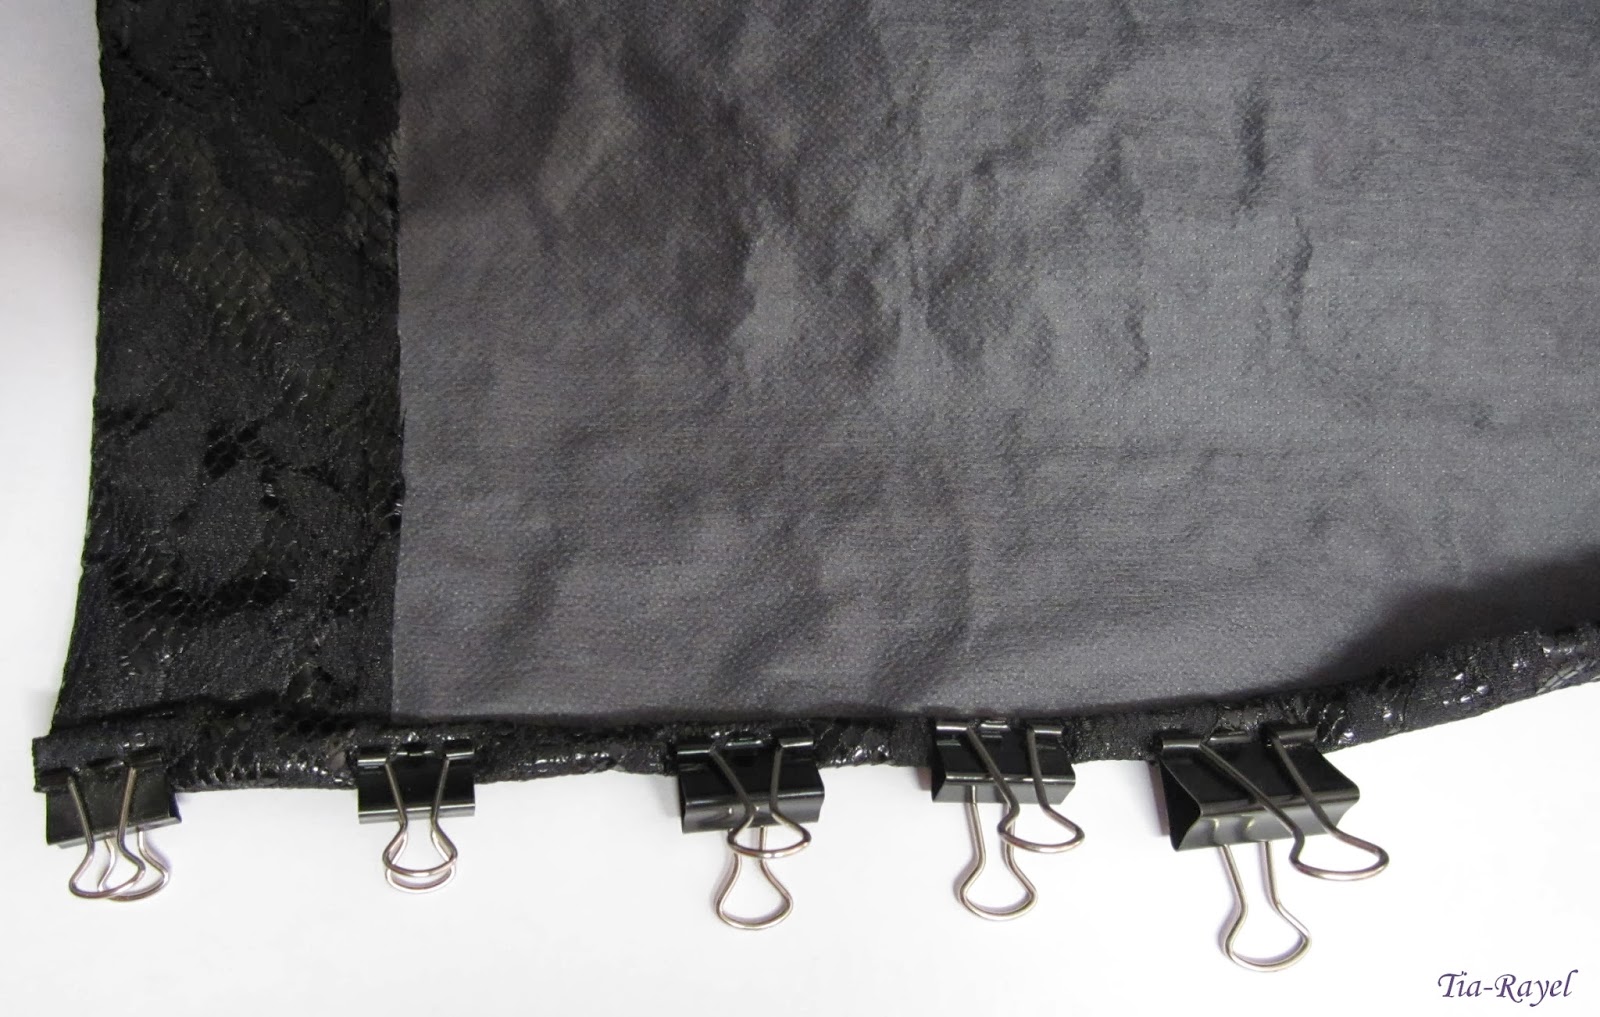
Because the fabric I used didn’t repair pin holes I used clips instead. I sewed the cuffs by hand – getting a sewing machine into the tiny spaces is a lot of effort for a messy result.
Below the cut is a tutorial for how I make 3-layer corsets. The pattern has boning channels through all layers of fabric and openings in front and back. I adapted the method provided with the pattern because I didn’t want the boning channels to go through the fashion fabric and I wanted a front opening only. There may be better ways of doing this, but when I was trying to solve this problem I couldn’t find any guides. I have since used this method for several corsets and have found it to work quite well. It is an unforgiving method: any adjustments would require taking apart all of the corset sewn after the place needing adjustment.
I had three layers of fabric: lining, coutil and fashion fabric. For boning I used two cable ties per channel.
Keep your cut pieces with the pattern pieces so you know which piece is which – and also which end is the top.
Start with the centre back piece.
Sew the channels between the coutil and lining layers and put all the bones in the channels.
Add the fashion layer. At this point I machine neatened the edges to keep all the layers together. Because the inner layer has bones in it, it will not be as wide as the fashion layer. Don’t match up the pieces by the edges or the fashion layer will be baggy.
Put the next panel pieces on fashion pieces right sides together and lining pieces rights sides together. The coutil piece needs to be included in this seam as well. Sew the side seam.
Sew the boning channels on the lining and coutil layers of the new panel.
I like to start by sewing where the next side seam will go – this holds the layers together and helps me measure where I want the channels to go.
Repeat until all the pieces are together.
Cut the cable ties (or other form of boning) to length and file to remove the sharp corners. Make sure the bones are cut shorter than the edge of the fabric to leave room for the binding.
Bind the edges. I usually hand sew the bias on top of the centre front bones so I can get the boning as close to the middle as possible.
Put in eyelets. I don’t cut a hole but rather push the threads apart with an awl. That way the fabric is less likely fray around the eyelets.


No comments:
Post a Comment